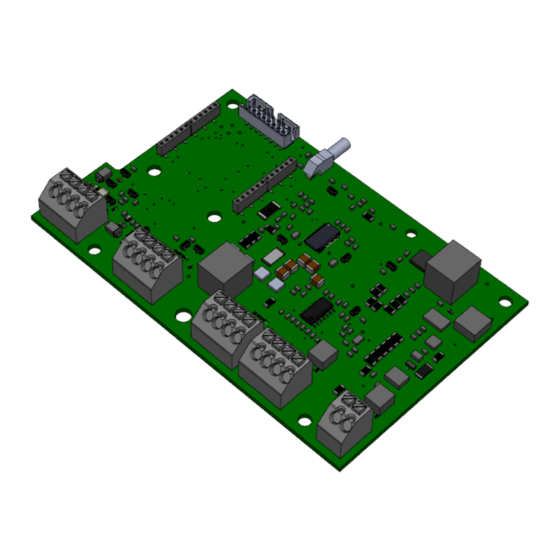
2. Install the battery harness to the DC Input Power terminal (red = positive, black = negative). The ring
terminal ends will be secured to the battery at the end of this document.
3.3
Installing Solar Panel, Mount, and Harness
1. Refer to Section 3.3 in the G Series manual (pages 20-26) for solar panel and mount installation. The G
Series manual can be found on the Carmanah website -
downloads/.
a. Top of pole mounts (45W and 80W panels only) will contain a plastic pole cap. Systems located
in Miami-Dade County will require a metal cap. Please contact Carmanah for more information.
2. Connect the solar harness to the Solar portion of the DC Input Power terminal (red = positive, black =
negative).
3.4
Installing Battery and Final Connections
1. Install the solar product label above the previous label(s) on the user interface plate. Ensure the surface
is cleaned with isopropyl alcohol and is dried before applying the label.
a. In 2020 Q3 Carmanah changed to a separate label for the serial number/product ID. Ensure this
label isn't covered or replaced as the original serial number is vital to reference for configuration
purposes. You can cross out the AC system ratings that are on the existing label.
2. Install the battery into cabinet with terminals towards you.
3. Install ring terminal on red battery wire to positive (+) battery terminal. Install ring terminal on black battery
wire to negative (−) battery terminal.
4. Insert the battery and solar fuses.
5. Ensure the EMS (Energy Management System) powers up.
a. If the EMS does not power up, verify the battery fuse is not blown and the solar polarity is not
backwards.
Carmanah Technologies Corp. | 250 Bay St, Victoria, BC V9A 3K5, Canada | 1.250.380.0052 |
AC TO SOLAR RETROFIT GUIDE
https://carmanah.com/support/product-
|
carmanah.com
9

