Fornax 100 Benutzerhandbuch - Seite 5
Blättern Sie online oder laden Sie pdf Benutzerhandbuch für Zubehör Fornax 100 herunter. Fornax 100 14 Seiten. Equatorial large telescope mechanics
Insert the Allen screws with a chisel head corresponding to the threaded hole of the washer into
the grooved screw profile on both sides of the base of the mechanism and fix them in such a way
that the mechanism can be rotated around the vertical axis, but cannot fall off the pillar!
In the next step, insert a suitably sized allen or socket head cap screw into each of the 2
horizontally located threaded holes in the recessed part of the washer (pillar top). Do not drive
them in until they hit the nose, the threaded end of the screw should not touch the nose part. The
mechanism should be rotatable about its vertical axis until it strikes the nose in either direction.
The next step is to adjust the "height" of the mechanism to the geographic width.
Height adjustment begins by slightly loosening the Allen screws located in the grooves in the two
side walls. The height can be adjusted by turning the nut between the base plate and the side walls
of the mechanism up and down.
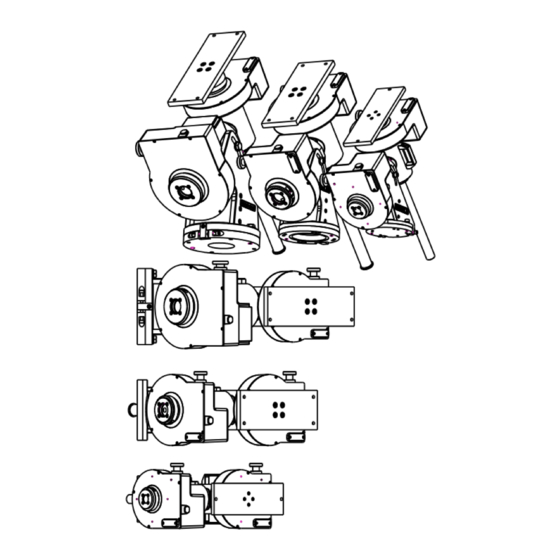
The next step is to unscrew a cap made of right-handed bakelite-like material on the part of the
mechanism marked with a red ring.
Threaded cap on the mechanism for alignment to the visual pole
If you have an (optional) polarscope, you can use it later for accurate polar alignment. Insert the
polarscope into the hole marked with a green arrow so that the eyepiece is on the outside. With
the cap off, you will be able to look through the hole or through the polarscope at the location
indicated by the green arrows when the axes are in the correct position. Adjust the position of the
mechanics using the handwheel knobs located on each half of the two mechanics.