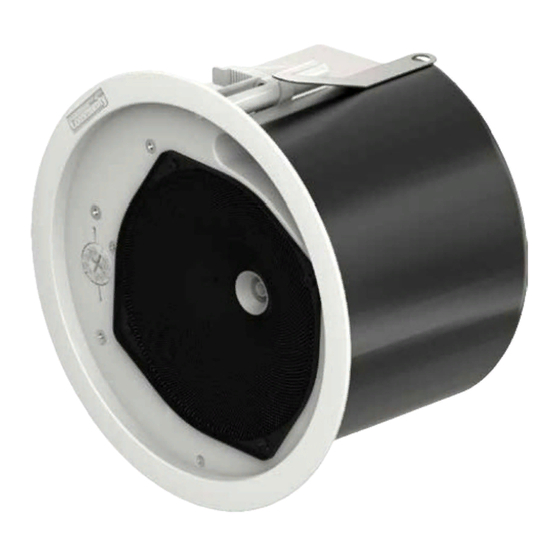
Community C6 Installations- und Betriebshandbuch - Seite 8
Blättern Sie online oder laden Sie pdf Installations- und Betriebshandbuch für Redner Community C6 herunter. Community C6 16 Seiten. 4.5", 6.5", 8" full-range c series coaxial ceiling loudspeakers
Auch für Community C6: Installations- und Betriebshandbuch (20 seiten)

Installation and Wiring
Note: All electrical and mechanical installation connections for
loudspeaker lines are subject to all applicable governmental building
and fire codes. The selection of appropriate electrical and mounting
hardware to interface with C SERIES Ceiling Loudspeakers lies solely with the
installation professional. Community recommends that an appropriately
licensed engineer, electrician, or other professional identify and select the
appropriate conduit, fittings, wire, etc. for the installation.
Installation of conduit to the loudspeaker
Required tools:
• (1) Hammer and knockout punch tool
• (1) Step-bit for adjusting knockout diameter (optional)
• Safety glasses, gloves and other personal safety gear are recommended as
this process involves striking metal parts and chipping away debris around the
knockouts.
1. All C SERIES loudspeaker back cans have a dual-diameter knockout strain
relief fitting on the top cover.
2. The knockout strain relief port is opened with a hammer and punch using
the same techniques for removing knockouts in standard electrical boxes.
3. Insert appropriate fittings and tighten sufficiently for wire path concealment
and strain relief, in accordance with applicable codes.
You can use flexible or rigid conduit (as required by local electrical codes).
Page 8
(continued)
Conduit fitted to the top cover plate
of the can, which has a knockout
strain relief for this purpose.
Installation and Operation Manual
Figure 3. Conduit for protected wiring to back can
C SERIES Ceiling Loudspeakers
