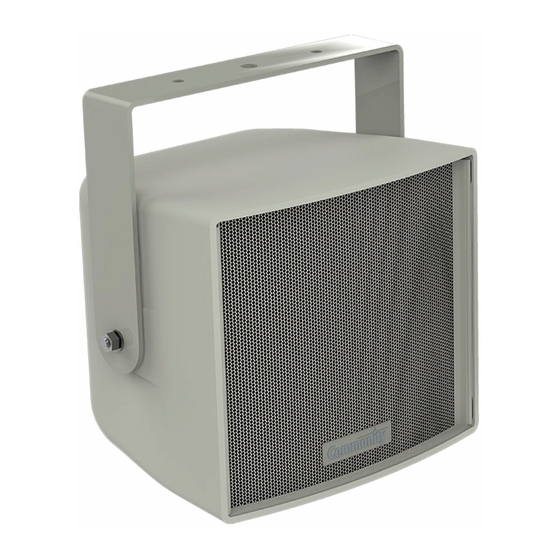
Community R.35-3896 Installations- und Betriebshandbuch - Seite 9
Blättern Sie online oder laden Sie pdf Installations- und Betriebshandbuch für Redner Community R.35-3896 herunter. Community R.35-3896 17 Seiten. R series
Auch für Community R.35-3896: Installations- und Betriebshandbuch (13 seiten)

INPUT PANEL CONNECTIONS
R.15: The connectors are wired in parallel. If utilizing the
NL4-type connector, refer to the detail inset. If utilizing the
weather cover, insert the cable end through the gland nut
and weather cover, and wire the terminal strip. Set the
Music/Voice and Voltage selector switches according to
your application (see Figure 5a).
Terminal
Strip
Music/
Voice
Switch
Figure 5a. R.15 input panel
FINAL ASSEMBLY AND TESTING
q Secure the gland nut to the weather cover. Align the
weather cover with the holes and attach using the provided
pan head screws. See Figure 6.
q All provided hardware (or other approved replacement)
must be installed in order to maintain weather-resistance
and preserve the product warranty.
q Power and test the system.
R.15COAX, R.35COAX, R.35-3896
R.35: Insert the cable through the gland nut and weather
cover and wire the unit referencing the label for connections
for your system voltage. See Figure 5b. There is a
preinstalled jumper that should be moved to the bottom
terminals for 8Ω operation. Failure to do so can result in
damage to the loudspeaker and/or amplifier. Set the Music/
Voice switch to the desired position based upon your type
of application. The NL4 connection can only be used for low
impedance 8Ω operation.
+
1+
from
1–
Amplifier
2–
–
2+
NL4-Type Connector
NL4
NL4
Music /
Voice
Switch
Wattage
Selector
Switch
Figure 6. Weather cover attachment (R.15 shown)
Installation and Operation Manual
Must remove jumper, or move it to the bottom
terminals, for 8Ω operation (see arrow below)
Figure 5b. R.35 input panel
Weather Cover,
Gasket (internal)
Gland Nut
(Barrel)
Pan Head
Screws
Wire
Terminal Strip
Follow label to
determine
correct (+)
terminal
connection
Gland Nut (Nut)
Input panel
Page 9
