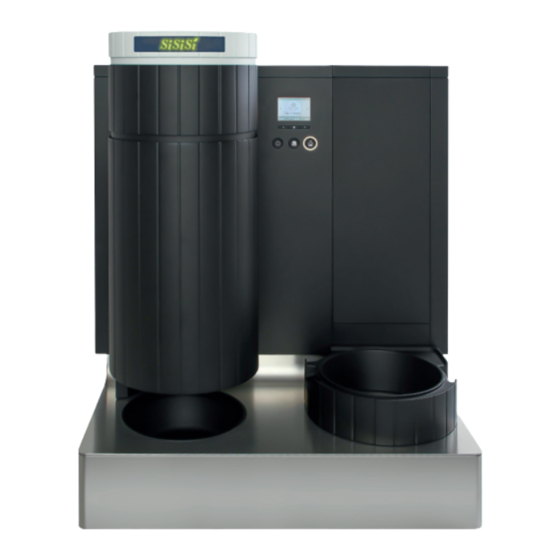
Carogusto EUBT400-1 Installations- und Betriebsanleitung - Seite 6
Blättern Sie online oder laden Sie pdf Installations- und Betriebsanleitung für Kaffeemaschine Carogusto EUBT400-1 herunter. Carogusto EUBT400-1 20 Seiten.

3. Initial start-up
3.4 Collection tank
3.5 Measuring and setting water hardness
10
Choose a location for your sisisi device
➔
which ensures that the ventilation slots at
the back are not covered.
A distance of 40 cm between the back of the
device and the wall is recommended, so that
the area can be cleaned as required.
To do this, lift the device by holding it in the
➔
middle of the front and tilting it backwards.
Make sure that the centre of gravity always
stays to the front.
Always use two people to lift the device
➔
into place.
Place a collection tank of approx. 10 litres
➔
under the device to collect rinsing water
and condensation.
The collection tank is not supplied as part of
the delivery.
Remove the two hoses from the accesso-
➔
ries pack and connect these to the drain
fittings.
Shorten both hoses so that the ends sit
➔
securely in the collection tank.
You can use the Aquadur® test strip supplied
as part of the delivery to determine your water
hardness.
Hold the test strip briefly (1 second) under
➔
running water. Shake off any excess water.
Wait approx. 1 minute.
➔
Determine the water hardness using the
➔
colour scale of the Aquadur® test strip
according to the description on the pack-
aging.
You can use the software to set the water
hardness.
3.6 Inserting the water filter
3.7 Power socket
3. Initial start-up
In the accessories pack you will find the filter
cartridges that need to be inserted into the
water tank.
Cut open the protective foil and place the
➔
filter cartridge on the water tank outlet.
Turn the cartridge clockwise as far as it
➔
will go.
The device can only be used with a filter
cartridge inserted.
The filter should be replaced after a maximum
of 3 months or approx. 120 litres at 17 CH
(carbonate hardness).
Only connect this device to a separate
➔
power socket (3PNE) with a minimum 13
A fuse.
T25
3L, N, PE | white, black | plastic |
3 x 400 V, 16 A; 230 V, 16 A
CEE 16-5 (SEV Type 75)
3L, N, PE | red | plastic |
3 x 400 V, 16 A; 230 V, 16 A
The power cable is approx. 2 m in length.
Lay the cable in line with workplace safety
➔
guidelines. The cable should not pose a trip
hazard.
11
