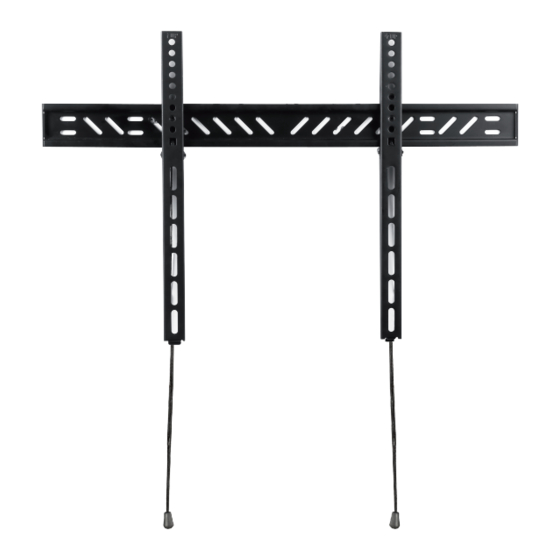
Andersson FDW 2.2 Benutzerhandbuch - Seite 3
Blättern Sie online oder laden Sie pdf Benutzerhandbuch für Racks & Ständer Andersson FDW 2.2 herunter. Andersson FDW 2.2 7 Seiten.

Parts
1.
Wall Plate
2.
Adapter Brackets
A1.
1. M4 x 12 (x4)
A2.
2. M5 x 12 (x4)
A3.
3. M6 x 12 (x4)
A4
4. M8 x 16 (x4)
.
(1)
A4
5. M6 x 25 (x4)
.
(2)
A5.
6. Washer (x4)
A6.
7.
Plug (x4)
B1.
8. Bolt (x4)
B2.
9. Concrete Anchor (x4)
B3.
10. Washer (x4)
Including:
Æ Instruction Manual
Æ Allen Key
4
2
1
A4
A1
A2
A3
(1)
(2)
B1
B2
A5
A6
Operation
You Will Need:
Mount On Brick/Concrete Wall:
1. Make sure that the brick or concrete
wall is thick enough.
Note: If you mount the Wall Plate of
the Articulated Arm on a brick wall,
make sure you mount the screws
the solid part of the bricks. Avoid
mounting the screws too close to
the edges of the bricks or in the
mortar joints.
2. Place the Wall Plate on the wall
and mark the center of the four
mounting holes with a pencil.
Note: Make sure that the four markings of the mounting holes are aligned by
using a spirit level.
3. Use a 10,5 millimeter concrete bit to drill a hole with a depth of 60
millimeters on each of the four markings.
A4
(2)
4. Insert a Concrete Anchor into each of the four drilling holes.
B3
5. Put a
-washer on each
6. Screw the
drilled holes to secure the Wall Plate to the wall.
Mount On Wood Wall:
B3
1. Locate two studs inside the wall.
We recommend that you use an
edge-to-edge stud finder.
2. Mark the edges and the middle of
the studs on the wall with a pencil.
3. Place the Wall Plate on the middle
of the two wall studs.
4. Mark the center of the four
mounting holes with a pencil.
Note: Make sure that the four
markings of the mounting holes are aligned by using a spirit level.
5. Drill a hole with a diameter of 4,5 millimeters and a depth of 60 millimeters
on each of the four markings.
6. Put a
B3
-washer on each
7. Screw the
drilling holes to secure the Wall Plate to the wall.
B2
B1
-screw.
-screws through the mounting holes of the Wall Plate into the
B1
B1
-screw.
-screws through the mounting holes of the Wall Plate into the
B1
B1
in
B3
B1
B3
5
