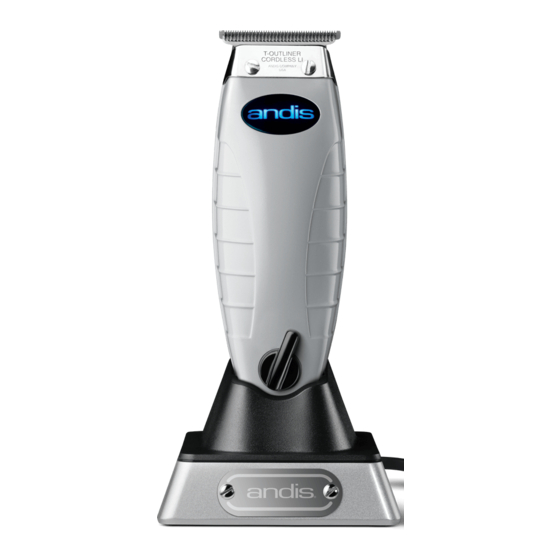
Andis ORL Gebrauchs- und Pflegeanweisungen Handbuch - Seite 4
Blättern Sie online oder laden Sie pdf Gebrauchs- und Pflegeanweisungen Handbuch für Trimmer Andis ORL herunter. Andis ORL 14 Seiten.

TRIMMER
INDICATOR LIGHTS
Trimmer in Charging Stand
When the trimmer is
running in a cordless
Fully Charged
operation, a blue trimmer
indicator light (Figure B)
Charging
means the battery has a
Trimmer in Use (Cordless)
strong charge. When the
light turns red, the battery
Full Charge
level is low and should be
recharged as soon as
Low Charge
possible. If the trimmer
Trimmer in Use (Corded)
automatically powers OFF,
move the power switch to
Running
the OFF position and
OFF with Full Charge
either charge in the
charging stand or plug in
OFF without full charge
to cord to continue
trimming. The trimmer
automatically powering off protects the lithium-ion battery and is not a malfunction.
The trimmer will resume normal operation when it is recharged or plugged in to its
power cord. The ORL trimmer, by design, will run at full power until the
battery is fully depleted.
NOTE: If trimmer automatically powers OFF while in use, it may take 1-2
minutes to resume normal operation after power cord is plugged in.
USING ATTACHMENT COMBS
(Some models do not have combs and sizes will vary by kit)
Your trimmer may come with 4 attachment combs: 1/16", 1/8", 1/4" and 3/8"
(Figure D). To use, slide front of attachment comb over the teeth of the blade
(Figure E). Snap comb down over back of blade (Figure F). Use the trimming guide
to find the approximate lengths of cut. Different blade angles in relation to the skin,
thickness and texture of the hair will vary the cutting length.
USER MAINTENANCE
If trimmer is not going to be used for a long period of time, store in a safe, cool,
dry place. Do not wrap adapter cord tightly around trimmer. Do not hang the
trimmer by the adapter cord.
The internal mechanism of your trimmer has been permanently lubricated at the
factory. Other than the recommended maintenance described in this manual, no
other maintenance should be performed, except by Andis Company or an Andis
authorized service station. To find an Andis authorized service station near you
log on to www.andis.com or contact our customer service department:
1-800-558-9441.
6
TRIMMER INDICATOR LIGHT STATUS
Solid Blue
Blue Fade In and Out
Solid Blue
Solid Red
Solid Blue
Solid Blue
Blue Fade In and Out
TRIMMING GUIDE
Description
Standard Andis Blade
1/16" Attachment Comb
1/8" Attachment Comb
1/4" Attachment Comb
3/8" Attachment Comb
CARE AND SERVICING OF YOUR ANDIS TRIMMER BLADES
The blades should be oiled before, during, and after each use. If your trimmer
blades leave streaks or slow down, it's a sure sign that the blades need oil. The
trimmer should be held in the position shown in Figure G to prevent oil from
getting into the motor. Place a few drops of Andis Clipper Oil on the front and side
of the cutter blades (Figure H). Wipe excess oil off the blades with a soft dry cloth.
Spray lubricants contain insufficient oil for good lubrication, but are an excellent
trimmer coolant. Discontinue use of broken or nicked blades to prevent injury. You
can clean the excess hair from your blades by using a small brush or an old
toothbrush. To clean the blades we suggest immersing the blades only into a
shallow pan of Andis Blade Care Plus, while the trimmer is running. Any excess hair
and dirt that has accumulated between the blades should come out. After cleaning,
turn your trimmer off, dry the blades with a soft, dry cloth and start trimming again.
REPLACEMENT OF BLADE SET
Your trimmer has a preset tension assembly on the blade set. To remove blade set
from your trimmer, remove from charger base or unplug from power cord. Hold the
trimmer so that the blade teeth are pointing up. Using a phillips-head type
screwdriver, unscrew the blade attachment screw (Figure I). Press forward on blade
(Figures J & K). To replace the blade, line up the bottom hook of blade with the
slot on the trimmer and snap into place (Figure L). Replace blade attachment screw
and gently hand tighten. There is no need to adjust blade tension before use, as
tension has been preset at the factory.
Approximate
Clipping Direction
Length of Cut
With hair grain
1/16" (1.6 mm)
Against hair grain
1/32" (0.8 mm)
With hair grain
3/16" (4.7 mm)
Against hair grain
1/16" (1.6 mm)
With hair grain
1/4" (6.4 mm)
Against hair grain
1/8" (3.2 mm)
With hair grain
3/8" (9.5 mm)
Against hair grain
1/4" (6.4 mm)
With hair grain
1/2" (12.7 mm)
Against hair grain
3/8" (9.5 mm)
7
