Andonstar ADSM302 Benutzerhandbuch - Seite 9
Blättern Sie online oder laden Sie pdf Benutzerhandbuch für Mikroskop Andonstar ADSM302 herunter. Andonstar ADSM302 19 Seiten.

*) Separate cables needed (not included).
General Use
◆ Use Individually
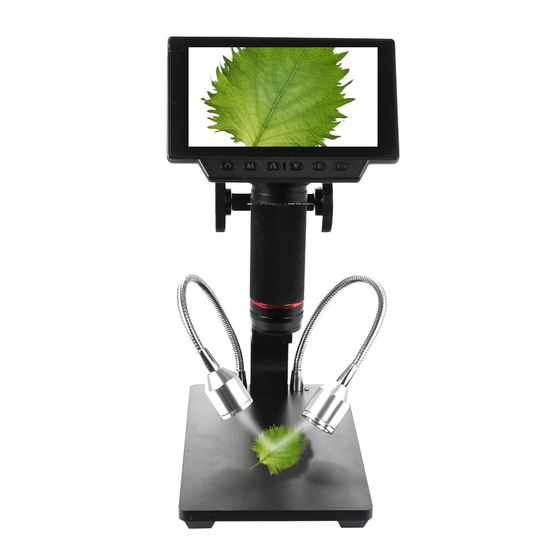
1. According to the instructions given by last chapters, connect the camera to the power supply like ⑤⑥⑦.
2. Press the "ON/OFF" button on the monitor. (Sometimes the camera will switch on automatically when it is
connected to the power supply)
3. Turn on the LED lights, adjust the object distance wheel and the focus controller to get the image that you
want.
4. Use the "UP/DOWN" to zoom in/out.
* Select operating mode
1. Press "M" shortly. (Or press the "Mode" on the remote)
2. Icons definition in different modes:
: standby mode;
: video playback mode (If the files are videos, press "OK" to play the video file)
: Lock the file which is being recording
* System settings
1. Press "M" for few seconds until on the screen shows the menu. Then press "M" again to get into the system
setting menu. (Or press "MENU" on the remote twice)
2. Press "UP/DOWN" and use "OK" to choose what to set.
3. Press "M" again when you are done.
* Capture mode
There are three ways to capture pictures:
•
Press "M" shortly to get into the Capture mode. Press "OK" to take pictures.
•
Press "Capture" on the monitor only.
•
Press "Capture" button on the IR remote to get pictures.
* Record mode
1. Press "M" shortly to get into the Record mode. Press "OK" to start recording.
2. Press "OK" to stop recording.
Andonstar ADSM302 Digital Microscope
: capture mode;
: record mode;
: image playback mode
- 7 -
