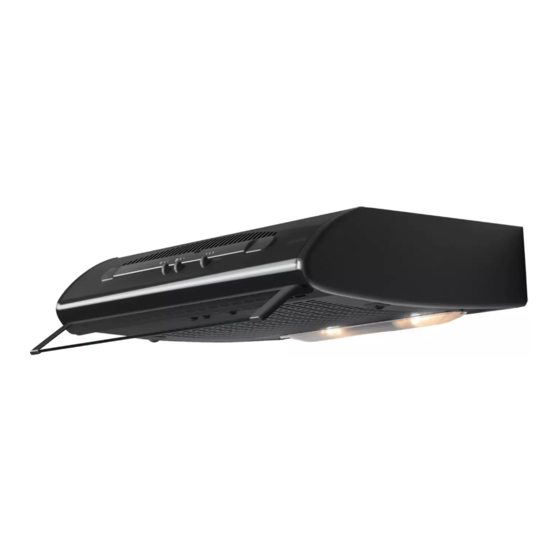
Electrolux DVK5510BR Gebrauchsanweisung - Seite 31
Blättern Sie online oder laden Sie pdf Gebrauchsanweisung für Lüftungshaube Electrolux DVK5510BR herunter. Electrolux DVK5510BR 36 Seiten.
Auch für Electrolux DVK5510BR: Gebrauchsanweisung (36 seiten)

3.4 - Connecting suction or filter hoods
1 - Connecting suction hoods (air is discharged into the atmosphere)
The hood comes with two air outlets, a plastic cover fitted in the
rear hole and a flange to be fitted according to the solution chosen:
top discharge (fig. 8), rear discharge (fig. 9). In case of installation
with rear discharge, fit the plastic cover in the top hole and the
flange in the rear hole. Using a pipe Ø 100 o 120 mm, connect the
air discharge flange to the external discharge duct. Open the grid
panel by pressing inwards on the knobs (fig. 10), check that the lever
(hood with one motor) or the handle (hood with two motors) points
to the ducting mode position (fig. 11), remove the charcoal filter, if
any, by turning the handle anti-clockwise (see par.3.3 2 part 2°).
Respect warning 2.1
2 - Connecting filter hoods (air is filtered and recirculated inside the
room) Open the grid panel, check that the lever (hood with one
motor) or the handle (hood with two motors) points to the filter mode
position (fig. 11), insert the charcoal filter
2°).
3.5 - Electrical connection and working test
Once the electrical connection has been completed, check that the worktop illumination, motor
and speeds work properly.
EN
(see par.3.3 2 part
11
8
9
10
31
