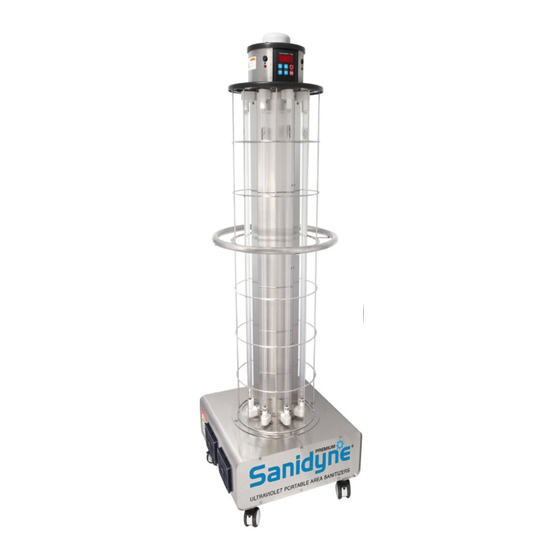
Atlantic Ultraviolet Sanidyne PREMIUM Benutzerhandbuch - Seite 9
Blättern Sie online oder laden Sie pdf Benutzerhandbuch für Zubehör Atlantic Ultraviolet Sanidyne PREMIUM herunter. Atlantic Ultraviolet Sanidyne PREMIUM 20 Seiten. Germicidal ultraviolet portable area sanitizer

7. Pause / Continue Button: Used to pause the treatment time, or to continue the treatment time. This button toggles from the
Pause Icon, which is displayed as two vertical bars to the Continue Icon which is a looping arrow. If pause is selected below
30 seconds during the Countdown, the Countdown time will reset to 30 seconds. If pause is selected during the cycle time the
device will provide an additional 1 minute and 30 seconds of countdown time to leave the area.
8. Home Button: Exit LampControl app.
9. Battery Condition: Displays the charge level of the battery in the hand-held remote. Press on battery symbol to see
percent of change.
10. Settings Button: Contains choices for:
a) Settings: Reset Operating Time or Clear Session Data
b) Set Date/Time: If changing through this menu, you need a PIN. (See "Setting Date and Time" on Page 12.)
c) Sessions: Log of saved sessions
11. Remaining Time: Displays remaining time of treatment and toggles to (Countdown time shown on Treatment in Hours,
Minutes, Seconds) when selected.
12. Volume Button: Adjust volume on Hand-held Remote Controller.
13. ON/OFF Button: Turns the power to the device on or off and can be used to restart the device. To turn on the device, this
button must be pushed in and held for 2 seconds. If the device is on the Home screen, pressing and holding this button
will bring up a menu with choices to: Power Off / Reboot / Airplane Mode; ON – OFF (MUST BE SET TO ON AT ALL
TIMES). Additionally displays three icons at bottom which are Sound Off / Vibrate / Sound On.
14. Total Operation Time: Displays accumulative hours of all treatment times.
15. Stop or End Button: Stop treatment time.
16. Status Bar: Outputs all the conditions of the device
a) Ready
b) Intruder Alert
c) Session in Progress
d) Session Paused
e) Session Resumed
f) Session Stopped
g) Leave Area
h) Connected to Sanidyne
l
i
amP
nstallation
Always disconnect power to the fixture before performing any service or maintenance.
Germicidal lamps are easily damaged. Exercise care when handling lamps.
Step 1 – Remove Top Cover by
removing all hardware and place on
the side to be reinstalled later.
®
Step 2 – One end of lamp is marked
"INSTALL THIS END DOWN."
Carefully fit this end of the lamp into
the lamp guard assembly first, as shown.
Step 3 – Carefully align pins on
lamp base to socket holes on
lampholder as shown. (Lamp
Installation Continued on Page 10.)
9
