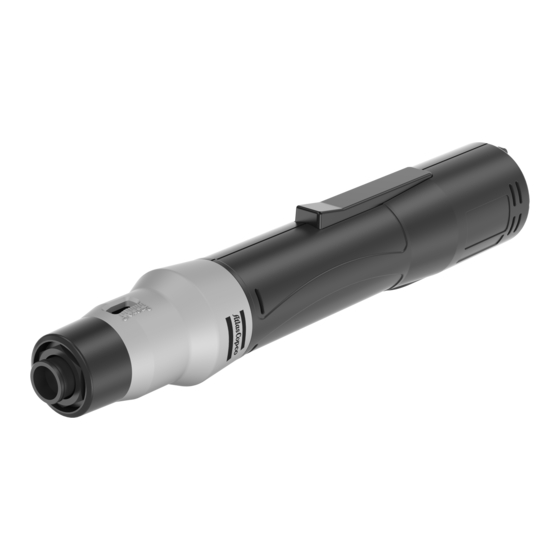
Atlas Copco 4221000272 Anweisungen zum Produkt - Seite 15
Blättern Sie online oder laden Sie pdf Anweisungen zum Produkt für Elektrowerkzeug Atlas Copco 4221000272 herunter. Atlas Copco 4221000272 20 Seiten.

S8020-WS
Troubleshooting
Troubleshooting
The table below shows the most common troubleshooting procedures. Note that some actions must only
be done by authorized workshops or qualified service technicians.
Problem
The screwdriver does not run.
The screwdriver is not rotating nor-
mally or the motor runs intermit-
tently during forward operation.
The bit falls out easily.
The bit wobbles.
The screwdriver does not stop
when the selected torque is
reached.
The screwdriver is overloaded.
EN
Reason
The power adapter is not outputting
power.
The connection wire plug 3P-3P,
5P-5P or 6P-6P is broken.
The forward/reverse button is not
working properly and no click is
heard when the trigger is pressed.
Possible damage on the electric
braking system of the power
adapter.
The power adapter has a protective
circuit and power is only supplied
normally from 3 to 5 seconds after
the current flow begins.
The bit does not match the specifi-
cations.
The bit is not inserted correctly.
The bit is not inserted correctly.
An excessive torque setting can
strip the screw threads, as a result,
the clutch does not activate.
Differences in size between the bit
and the screw slot lengths can
cause slopping.
Possible damage on the electric
braking system or on the sensor
switch of the power adapter.
The handle is overheated or the
revolutions plunge rapidly while fas-
tening.
© Atlas Copco Industrial Technique AB - 9839 2054 01
Troubleshooting
Action
Turn on the relay inside the screw-
driver to measure the output volt-
age.
Make sure that the DC voltage is:
■
Terminals 5P-5P and 6P-6P:
■
needle 1: "-" potential
■
needle 4: "+" potential.
■
Terminal 3P-3P:
■
needle 1: "+" potential
■
needle 3: "-" potential.
■
If the screwdriver has a 6-pin
output design, needle 3 and
needle 5 should be conductive.
Replace the connection wire plug
with a new connection wire or with
a new plug.
Replace the trigger.
Contact our authorized workshops
or qualified service technicians to
perform the repair.
Operate the tool in reverse mode or
rotate the anvil 90 degrees until a
click is heard, then operate the tool
in forward mode.
Change the bit to one matching the
specifications.
Remove the bit and reinsert it
tightly.
Remove the bit, rotate it 60 or 180
degrees and reinsert it tightly.
Lower the torque to a level that
does not cause stripping.
Change the bit to a suitable one.
Contact our authorized workshops
or qualified service technicians to
perform the repair.
Change the torque of the screw-
driver to a higher level or reduce
the fastening frequency to prolong
the life span of the screwdriver.
15
