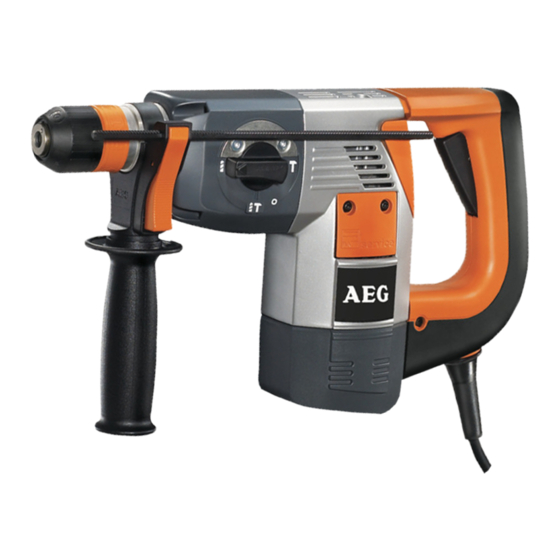
Atlas Copco PN 3500 Reparaturanleitung - Seite 18
Blättern Sie online oder laden Sie pdf Reparaturanleitung für Bohrer Atlas Copco PN 3500 herunter. Atlas Copco PN 3500 18 Seiten.

1
Only applicable
Press in the seal ring (2) with aid of the
for PN 3500 X:
sleeve (1) (service tool) until it engages.
Mounting the
2
Fit the following parts in the below order:
FIXTEC-recep-
- washer (9)
tion
- inner spring (8)
- outer spring (7) and
- locking ring (6).
3
Depress the locking ring (6) and insert the
balls (4).
4
Insert the ejector ring (5).
5
Depress the locking ring (6) (cover the
balls with your hand so they cannot fall
out) and press in the ejector ring (5) with
aid of a used SDS-plus adapter.
6
Press a locking ring into the spindle in or-
der to secure the ejector when mounting
the locking sleeve (3).
7
Fix the locking sleeve (3).
8
Remove the locking ring fitted to secure
the ejector.
1
Mounting the
Insert each carbon brush holder (4) into
carbon brushes
the housing and connect the cables (3)
with the field.
2
Insert each carbon brush (1) into the
respective carbon brush holder (4)
and place the spring (2) on the carbon
brush (1). Fit the flat plug.
3
Screw down the respective service cov-
ers (5).
Test Run
Test run the machine and pay attention to noises.
Let the machine run-in.
Electrical Test
Perform an electrical test on the machine (see chapter Electrical and Mechanical Test Instructions).
Repair Instructions No.179.11/97
PN 3500 / PN 3500 X
5 6 7 8
4
3
1
1
2
A
2
9
2
3
4
1
6
PAGE
17
16
17
5
