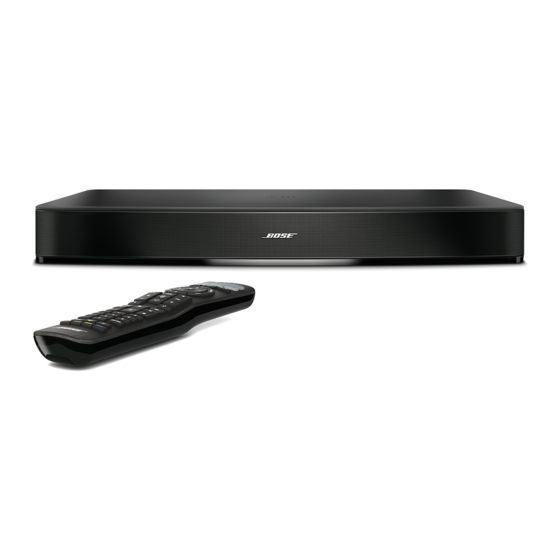
Bose Solo 10 series II Service-Handbuch - Seite 35
Blättern Sie online oder laden Sie pdf Service-Handbuch für Redner Bose Solo 10 series II herunter. Bose Solo 10 series II 40 Seiten. Tv sound system
Auch für Bose Solo 10 series II: Wichtige Sicherheitshinweise Handbuch (20 seiten), Faq (3 seiten)

Required Equipment
1. Tera Term terminal emulator - download at http://
sourceforge.jp/projects/ttssh2/
2. TAP cable 264565 ( used for TAP commands)
3. RS232-TTL Converter - B&B electronics Model
232LPTTL or similar - http://bb-elec.com
4. An A/D converter and audio generator
5. Computer setup to issue TAP commands - see
page 40 for instructions.
1. Air Leak Test
1.1 Apply a 70 Hz, 50 mVrms signal to the left
and right input of the A/D converter.
1.2 Connect the A/D converter Coax output to
the unit's Coax input.
1.3 Issue TAP command "remote o" to turn the
unit on, or press the remote ON button.
1.4 Issue TAP command "VO 100" to set the
volume to maximum level.
1.5 Issue TAP command " BASS 2" to set the
bass to mid level.
1.6 Listen for any air leaks from sealed enclo-
sures such as the top cover and drivers.
1.7 Issue TAP command "BASS 0" to set bass to
minimal level and then to the full level "BASS 4".
You should notice a corresponding decrease and
increase in bass.
2. Buzz and Sweep Test
2.1 Apply a 35 Hz, 25mVrms signal to the left
and right input of the A/D converter.
2.2 Connect the A/D converter Coax output to
the unit's Coax input.
2.3 Issue the TAP command "remote 0" to turn
the unit on, or press the remote ON button.
FUNCTIONAL TEST PROCEDURES
2.4 Issue the TAP command "VO 100" to set the
volume to maximum level.
2.5 Sweep the generator from 35 Hz to 3 kHz
2.6 Listen for buzz, rub, or extraneous sounds.
Localize and repair any buzz. Replace any
transducer that rubs or produces extraneous
sounds.
3. Left, Right, Center Output Test
3.1 Connect the A/D converter Coax output to
the unit's Coax input.
3.2 Apply a 1 kHz, 10mVrms signal to the left
input of the A/D converter.
3.3 Listen for clean, undistorted audio from the
left speaker.
3.4 Apply the signal to the right input of the A/D
converter.
3.5 Lister for clean, undistorted audio from the
right speaker.
3.6 Apply the signal to the right and left input of
the A/d converter.
3.7 Listen for clean, undistorted audio from the
three center speakers.
4. Input Test
Note: Connect only the input being tested to avoid
triggering the auto select circuit.
4.1 Issue the TAP command "remote 0" to turn
the unit on, or press the remote on button.
4.2 Issue the TAP command "VO 100" to set the
volume to maximum.
4.3 Apply a 200 Hz, 25 mVrms signal to the
unit's left and right analog RCA input.
4.4 Listen for clean, undistorted audio from the
unit.
35
