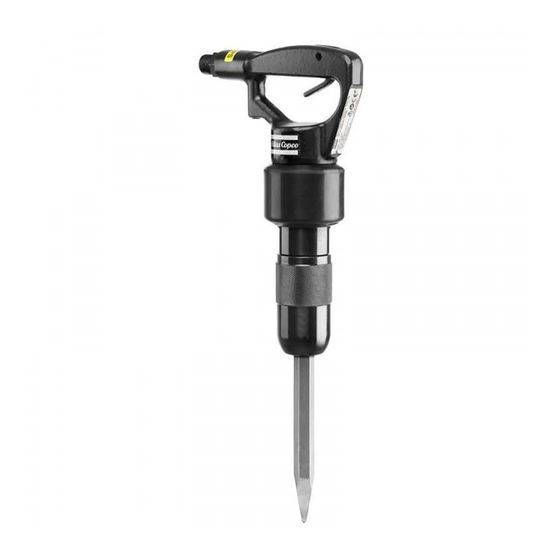
Atlas Copco TEX 09PS Handbuch - Seite 13
Blättern Sie online oder laden Sie pdf Handbuch für Werkzeuge Atlas Copco TEX 09PS herunter. Atlas Copco TEX 09PS 20 Seiten.

Safety and operating instructions
Insertion tool
CAUTION Hot insertion tool
The tip of the insertion tool can become hot and
sharp when used. Touching it can lead to burns and
cuts.
►
Never touch a hot or sharp insertion tool.
►
Wait until the insertion tool has cooled down before
carrying out maintenance work.
NOTICE Never cool a hot insertion tool in water, it
can result in brittleness and early failure.
Selecting the right insertion tool
Selecting the right insertion tool is a precondition for
proper machine function. It is important to select
insertion tools of high quality to avoid unnecessary
machine damage.
The machine can be destroyed if you use an incorrect
insertion tool.
Recommended insertion tools are listed in the
machine's spare parts list.
Narrow chisel
Moil point
Wide bladed chisel
WARNING Vibration hazard
Using inserted tools that do not fulfil the criterias
mentioned below, will result in a longer time to
complete a task, and may result in higher levels of
vibration exposure. A worn tool will also cause
increased working time.
►
Make sure that the inserted tool is well-maintained,
not worn out and of the proper size.
Always use a sharp tool in order to work efficiently.
►
16
The narrow chisel is used for
demolition and cutting work in
concrete and other types of
hard materials.
The moil point is only used for
making holes in concrete and
other types of hard materials.
The wide bladed chisel is used
in soft materials, such as
asphalt and frozen ground.
© 2010 Atlas Copco Construction Tools AB | No. 9800 0799 90 | 2010-01-01
TEX 3, 05P, 09PS, 10PS, 12PS
Fitting and removing the insertion tool
Whenever fitting or removing the insertion tool the
following instructions must be observed:
♦
To prevent an accidental start: switch off the air
supply and disconnect the machine from the power
source. Bleed the machine by pressing the start
and stop device.
♦
Before inserting a tool, lubricate the tool shank
with grease.
♦
Close the tool retainer and check the lock function
by tugging the inserted tool sharply outwards.
TEX 3, TEX 05P, TEX 09PS, TEX 10PS, TEX 12PS
1. Place the cap over the body of the insertion tool.
2. Place the buffer (A) over the stem of the insertion
tool.
3. Insert the insertion tool into the cylinder and
screw the cap onto the cylinder until it is locked.
TEX 09PS KL, TEX 10PS KL, TEX 12PS KL
1. Fit or remove the insertion tool.
2. Close the tool retainer (position A).
Original instructions
