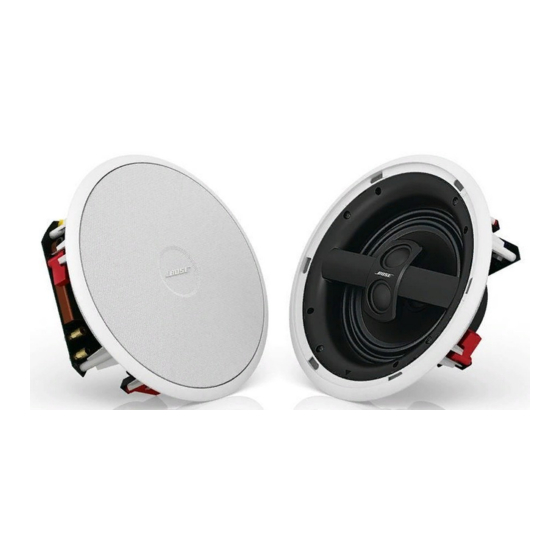
Bose Virtually Invisible 791 Installationshandbuch - Seite 3
Blättern Sie online oder laden Sie pdf Installationshandbuch für Redner Bose Virtually Invisible 791 herunter. Bose Virtually Invisible 791 17 Seiten. Installation guide
Auch für Bose Virtually Invisible 791: Installationshandbuch (35 seiten), Installationshandbuch (23 seiten)

English
TAB 2
Basic steps to installation
The instructions on the pages that follow will help you
complete each of the steps below.
Step 1:
Choose approximate locations for each
speaker.
Step 2:
Observe the cautions and use the template
for precise placement.
Step 3:
Cut the hole for each speaker.
Step 4:
Wire each speaker.
Step 5:
Insert and secure the speaker in the ceiling.
Step 6:
Test each speaker to make sure it works.
TAB 3
TAB 4
TAB 5
TAB 6
O
VERVIEW AND
Before you begin... . . . . . . . . . . . . . . . . . . . . . . . .
Unpacking . . . . . . . . . . . . . . . . . . . . . . . . . . . . .
Other equipment you will need . . . . . . . . . . . . .
If painting is in your plan . . . . . . . . . . . . . . . . .
Selecting speaker cable . . . . . . . . . . . . . . . . . .
Preparing the cable wires . . . . . . . . . . . . . . . .
Placement guidelines . . . . . . . . . . . . . . . . . . . . . .
Using the arrow as a guide . . . . . . . . . . . . . . . .
Placing speakers for stereo sound . . . . . . . . . .
Placing speakers for home theater . . . . . . . . . .
Other considerations . . . . . . . . . . . . . . . . . . . . .
Preparing the ceiling . . . . . . . . . . . . . . . . . . . . . .
Using the template . . . . . . . . . . . . . . . . . . . . . .
Drilling a pilot hole . . . . . . . . . . . . . . . . . . . . . . .
Cutting the speaker hole . . . . . . . . . . . . . . . . . .
Getting the wire ready . . . . . . . . . . . . . . . . . . . .
Connecting the speaker . . . . . . . . . . . . . . . . . . . .
Finishing the installation . . . . . . . . . . . . . . . . . . .
Securing the speaker . . . . . . . . . . . . . . . . . . . .
Testing each speaker . . . . . . . . . . . . . . . . . . . .
Attaching the grille . . . . . . . . . . . . . . . . . . . . . .
Painting the exterior parts . . . . . . . . . . . . . . . . . .
Painting the grille . . . . . . . . . . . . . . . . . . . . . . .
Painting the frame . . . . . . . . . . . . . . . . . . . . . . .
Troubleshooting . . . . . . . . . . . . . . . . . . . . . . . . . .
Customer service . . . . . . . . . . . . . . . . . . . . . . . . .
Limited warranty . . . . . . . . . . . . . . . . . . . . . . . . . .
Accessories . . . . . . . . . . . . . . . . . . . . . . . . . . . . .
Technical information . . . . . . . . . . . . . . . . . . . . .
TAB 7
TAB 8
C
ONTENTS
2
2
2
2
2
3
3
4
4
4
5
5
6
6
6
6
7
7
8
8
8
10
10
11
11
11
12
13
14
14
14
14
iii
