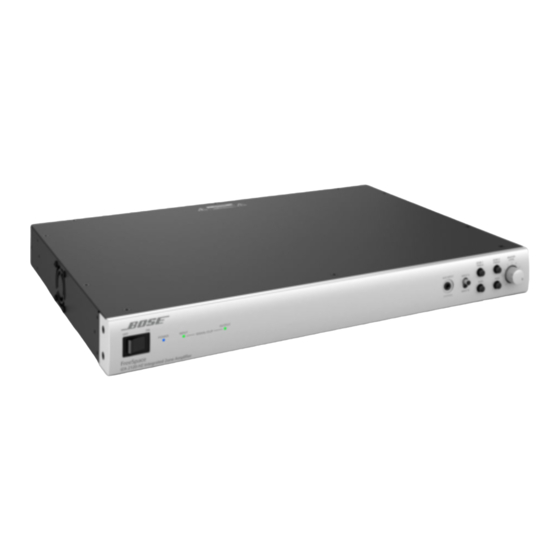
Bose FreeSpace IZA 2120-HZ Installations- und Betriebshandbuch - Seite 23
Blättern Sie online oder laden Sie pdf Installations- und Betriebshandbuch für Verstärken Bose FreeSpace IZA 2120-HZ herunter. Bose FreeSpace IZA 2120-HZ 48 Seiten. Integrated / zone amplifiers
Auch für Bose FreeSpace IZA 2120-HZ: Installations- und Betriebshandbuch (48 seiten)

- 1. Table of Contents
- 2. Freespace® Iza 2120-Lz / Iza 2120-Hz Integrated Zone Amplifier
- 3. Iza 2120-Lz Rear Panel
- 4. Za 2120-Lza/Hza Rear Panel
- 5. Remote Volume Control
- 6. Connecting the CC-1 to a Freespace® Amplifier
- 7. Connecting an Iza 2120-Lz/Hz Amplifier to a Za 2120-Lza/Hza Amplifier
- 8. Troubleshooting
pro.Bose.com
Installation
Importance of Proper Ventilation
For placement of the amplifier, keep the following in mind:
• Make sure that air can circulate freely from left to right for adequate ventilation. There are vents on the
sides.
• The temperature of the rack should be controlled to ensure that amplifiers are not exposed to ambient
temperatures exceeding 40° C (104° F).
• Do not cover or block amplifier vents.
• Do not place the amplifier in an enclosed space, such as a cabinet.
• Make sure the chassis is protected from heat and kept away from direct heat sources, such as heating
vents and radiators.
CAUTION: Do not allow the chassis to exceed the maximum operating temperature of 40°C
(104°F). Be aware of conditions in an enclosed rack that may increase the temperature above
room-ambient conditions. If the amplifier becomes too hot, it will go into a thermal protection
mode and mute all outputs.
Rack Mounting
FreeSpace® amplifiers are designed to fit standard 19-inch (48 cm) rack equipment, occupying 1 rack-
unit (RU) in height, requiring a mounting depth of 12.2 inches (30.9 cm) from the front rack rail. Use four
fasteners with washers (not supplied) to mount the amplifier front panel rack ears to the equipment rack
rails.
CAUTION: Only use the mounting hardware recommended by the rack manufacturer.
Removing Rack-Mount Ears
Rack-mount ears can be removed by removing the three screws from each rack-mount ear.
Figure 9. Removing the rack-mount ears
Installation
Installation Guide - 23
