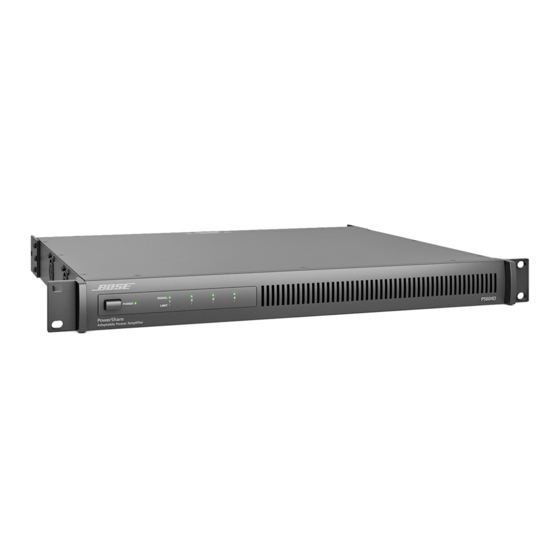
Bose PowerShare PS404D Installationshandbücher - Seite 17
Blättern Sie online oder laden Sie pdf Installationshandbücher für Verstärken Bose PowerShare PS404D herunter. Bose PowerShare PS404D 24 Seiten. Adaptable power amplifiers

pro.Bose.com
Technical Information
Troubleshooting
Problem
No power
Power is on, but no
sound
Power is on, but sound
is low
Sound is distorted
Unnatural sound
Installation Guide • PowerShare PS604D/PS404D
What to do
Turn on power. Green LED on front panel will be visible when power is on.
Make sure the power cord is plugged in.
Try a different AC outlet that is working with another piece of equipment.
Make sure the input source is turned on.
Verify that there is an input signal from the source.
Check the cable connections from the source to the amplifier.
Make sure the Output Attenuation controls are not turned down to mute.
If a CC-D digital zone controller is connected to the amplifier, make sure the
volume control on the zone controller is turned up.
If a contact closure is connected to the Mute port on the rear panel, check the
switch to ensure the mute function has not been triggered.
Make sure that loudspeaker tap settings are set correctly.
Check that the amplifier has adequate ventilation. Improper ventilation could
cause the amplifier to go into thermal protection mode and no audio will be
heard.
Ensure that the output wiring is correct. A short circuit will cause the amplifier to
go into protection mode and no audio will be heard.
Check Matrix and Out levels using ControlSpace Designer.
Check Dante® subscriptions if applicable.
Verify that the audio input source output is turned up to a nominal level.
Check the cable connections from the source to the amplifier.
Make sure the Output Attenuation controls are not turned down too low.
If a CC-D digital zone controller is connected to the amplifier, make sure the
volume control on the zone controller is turned up.
Make sure that loudspeaker tap settings are set correctly.
Check Matrix and Out levels using ControlSpace Designer.
Verify that the Signal LED on the front panel is not red. If it is red, reduce the
source output level, or increase the amplifier analog input sensitivity to 12 dBu.
If the input source signal is clean, verify that the loudspeakers are not overdriven
or damaged. Check the loudspeaker tap setting.
Using ControlSpace Designer software, verify that the audio input signal indicator
blocks are not showing solid red or flashing red. If they are, reduce the input pre-
gain setting to where the input is no longer clipping (red).
Using ControlSpace Designer software, verify that the audio output signal
indicator blocks are not solid red or flashing red. If they are, and the input
indicators are green, use the Designer software to reduce the output gain or any
intermediary gain in the signal path.
If the input source signal is clean when it enters the system, and the input and
output indicators are green, verify that the loudspeakers are not being overdriven
and are not damaged.
Verify that the proper EQ preset is selected for the loudspeakers being used.
Technical Information
English • 17
