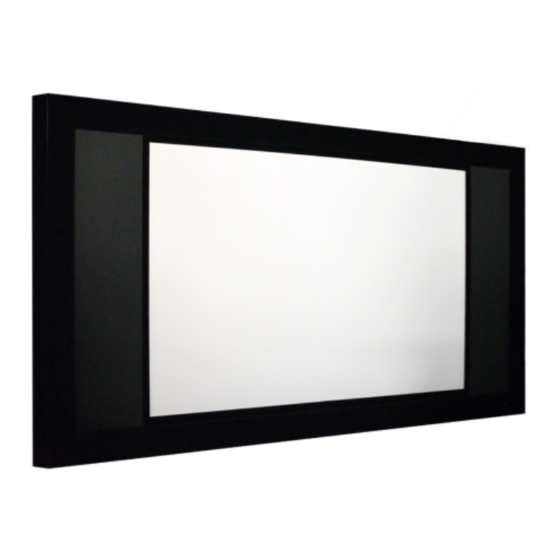
DT DT SCREENS Dynamic 2S Installationshandbuch - Seite 6
Blättern Sie online oder laden Sie pdf Installationshandbuch für Projektor-Zubehör DT DT SCREENS Dynamic 2S herunter. DT DT SCREENS Dynamic 2S 12 Seiten.

Next fir the Top Left section in exactly the same way again tightening the joining sliders and
•
using a spirit level to check the level.
•
Take one of the stretcher bars and fit this between the top Left and bottom Left screen
profiles. Tighten the grub screws to open the jaws of the clamp on the end of the stretcher
profile to clamp onto the screen profile. These should be fitted approximately mid-way on
the top and bottom left profiles but can be moved to suite speaker positioning.
•
Fitting the stretcher profile will allow you to confirm that the top left screen section is level
and to screw this to the wall.
•
Repeat the installation process for the top Right screen section. Again, fitting a stretcher bar
between it and the bottom right screen section to endure it is all level.
Take the Right screen section and slide this onto the top Right and Bottom right screen
•
sections, using the joining bars to locate into the aluminium profiles before tightening the
grub screws in them when the profiles fully meet.
•
Screw the Right section to the wall.
Mechanically you now have all the sections fitted to the wall.
•
Dynamic 2S Installation Manual – V0.2
6
