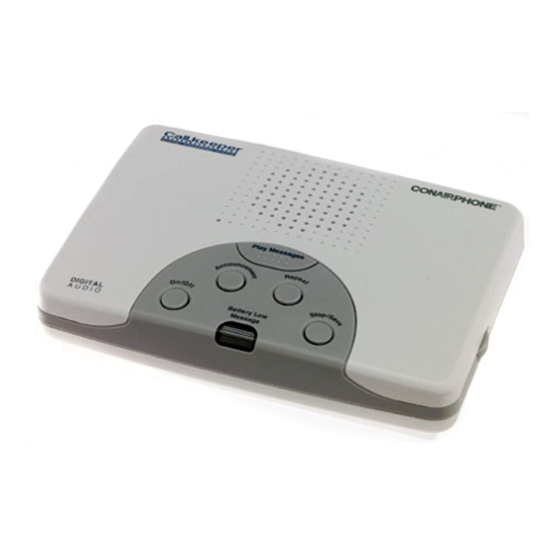
Conairphone TAD1212 Benutzerhandbuch - Seite 6
Blättern Sie online oder laden Sie pdf Benutzerhandbuch für Anrufbeantworter Conairphone TAD1212 herunter. Conairphone TAD1212 17 Seiten. Callkeeper digital answering system

INSTALLATION (Cont.)
3. Install one 9 volt battery.
4. Replace battery compartment door
screw and connect the AC adaptor.
5. Install a replacement battery once a
year to ensure proper operation of the
power failure protection feature.
Your message LED will flash rapidly
until 9 Volt battery is installed. Your
unit is fully functional - battery is
needed for power failure backup
ONLY.
Connect to Telephone Line
1. Plug your telephone into the modular
TEL jack in the back of your unit (Fig. A).
NOTE:
We do not recommend that you
plug a cordless telephone into your unit.
Operation of a digital answering system
may cause interference on your cordless
telephone.
Figure A
2. Plug the straight end of the cord into
a modular wall jack. Make sure plug
snaps firmly in place (Fig. B).
or
3. With a four prong style jack, simply
use a plug in modular adaptor (see
Fig. C).
NOTE:
The jack RJ11C of the fixed line cord
complies to FCC Part 68.
Connect to AC Power
(Use only SYSTEM TAD1212 AC
Adaptor of Output AC 9V 150mA)
1. Plug AC Adaptor cord into the back
of your unit (Fig. A).
2. Plug AC Adaptor into a standard
120 Volt wall outlet.
3. When your unit is initially plugged in
allow up to 10 seconds for memory
check before initial setup. Three beep
tones will be heard if you attempt to
record an outgoing message before
this period.
6
