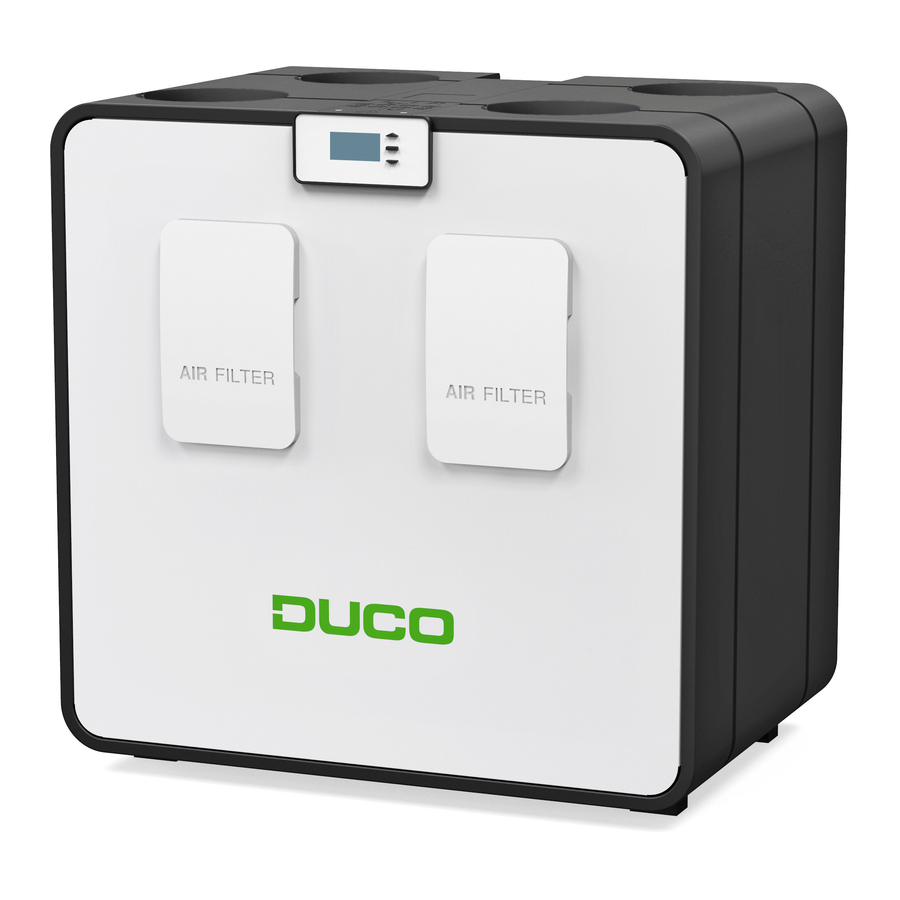
Duco DucoBox Energy Comfort Pflegeanleitung - Seite 2
Blättern Sie online oder laden Sie pdf Pflegeanleitung für Heizungsanlage Duco DucoBox Energy Comfort herunter. Duco DucoBox Energy Comfort 2 Seiten. Installation kit
Auch für Duco DucoBox Energy Comfort: Installationshandbuch (2 seiten)

Unit
It is advisable in the event of any fault or abnormal operation to
refer to your installer and not carry out repairs yourself.
1.C
C. Installer
Unit
1. Check the outside for damage.
The DucoBox Energy Comfort needs to be switched on for
this check. Keep clear of moving parts and beware of elec-
tric cables.
2. Switch the unit to the 3 settings and check whether the
DucoBox Energy Comfort speeds up and slows down correct-
ly in order to test the rpm setting.
Heat exchanger
1. Switch the unit off.
2. Remove the screws and take the front plate off the unit.
3. Mark the position of the heat exchanger to enable you to fit
it back in the same position.
4. Pull the heat exchanger out of the unit using the strip provi-
ded. Do not cut through the strip, it is there to pull the heat
exchanger out of the unit.
5. Check the heat exchanger to for contamination.
6. To remove dust or dirt, we immerse the heat exchanger in
warm water a few times, we can rinse it off with warm water
(40 °C max.).
7. Shake the heat exchanger dry.
8. Fit the heat exchanger back into the unit once it is dry en-
ough.
9. Fit the front plate back onto the unit. Tighten the screws
sufficiently to ensure that the unit is sealed airtight.
Fans
1. Switch the unit off.
2. Remove the screws and take the front plate off the unit.
3. Mark the position of the heat exchanger to enable you to fit
it back in the same position.
4. Pull the heat exchanger out of the unit using the strip provi-
ded. Do not cut through the strip, it is there to pull the heat
exchanger out of the unit. This is necessary in order to gain
proper access to the bypass.
5. Use a vacuum cleaner and damp cloth to remove all the dust.
6. Fit the heat exchanger back into the unit.
7. Fit the front plate back onto the unit. Tighten the screws
sufficiently to ensure that the unit is sealed airtight.
Modulating bypass
1. Switch the unit off.
2. Remove the screws and take the front plate off the unit.
3. Mark the position of the heat exchanger to enable you to fit
it back in the same position.
4. Pull the heat exchanger out of the unit using the strip provi-
ded. Do not cut through the strip, it is there to pull the heat
exchanger out of the unit. This is necessary in order to gain
proper access to the bypass.
5. Check the bypass for contamination or damage and clean it
if necessary.
6. Fit the heat exchanger back into the unit.
7. Fit the front plate back onto the unit. Tighten the screws
sufficiently to ensure that the unit is sealed airtight.
Ducts
1. Remove the vents.
2. Check the air ducts visually for contamination. Dust and/or
grease can adhere to the first section of the duct.
3. Clean the ducts with a damp cloth and use a bio-degreaser
or soap water as appropriate. Do not use solvents!
4. With normal use, the exhaust air piping network needs to
be cleaned every 8 years and the supply air piping network
every 5 to 6 years.
Condensate drain
1. Switch the unit off.
2. Remove the screws and take the front plate off the unit.
3. Mark the position of the heat exchanger to enable you to fit
it back in the same position.
4. Pull the heat exchanger out of the unit using the strip provi-
ded. Do not cut through the strip, it is there to pull the heat
exchanger out of the unit.
5. Check whether there is any water left in the condensate
drain and pour some water into the trap to check its operati-
on. By doing so you will also ensure that a (standard) trap is
filled to the optimum level in order to obtain an airtight sys-
tem (water in a trap can evaporate at higher temperatures).
6. Check the drainage path downstream for blockages if the
water does not drain off properly.
7. Fit the heat exchanger back into the unit.
8. Fit the front plate back onto the unit. Tighten the screws
sufficiently to ensure that the unit is sealed airtight.
2
