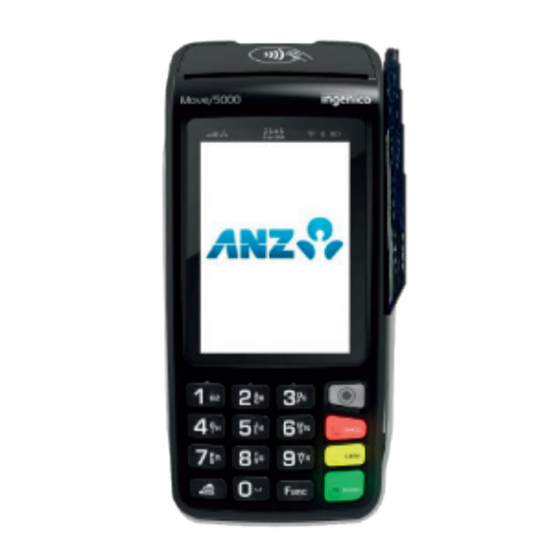
ANZ POS MOVE Kurzreferenz-Handbuch - Seite 3
Blättern Sie online oder laden Sie pdf Kurzreferenz-Handbuch für Touch-Terminals ANZ POS MOVE herunter. ANZ POS MOVE 4 Seiten.
Auch für ANZ POS MOVE: Kurzreferenz-Handbuch (4 seiten)

PRINT LAST SETTLEMENT
• Press
& then BATCH
• Select LAST SETTLEMENT to print last
settlement report
Note: The above steps only apply to standalone. To print
settlement reports on an integrated device you will need to
initiate it via your Point of Sale (POS) system.
PRINT PRE-SETTLEMENT REPORT
& then BATCH
• Press
• Select TOTALS
- Select SUMMARY TOTALS for a settlement
report which shows the Sales, Cashout,
Refund and Totals (excluding AMEX & Diners)
- Select SUB TOTALS to print a settlement
report which shows a breakdown of all cards
accepted (including AMEX & Diners)
Note: The above steps only apply to standalone. To print
settlement reports on an integrated device you will need to
initiate it via your Point of Sale (POS) system.
PRINT LAST TRANSACTION –
COPY
• Press
& then PRINT
• Select TRANSACTIONS
• Select LAST
Note: The above steps only apply to standalone. To print a last
transaction receipt on an integrated device you will need to
initiate it via your Point of Sale (POS) system.
CHARGING THE TERMINAL
BATTERY
• Place the terminal on the base by securely
connecting the terminal to the docking
connector on the base
• The terminal should display
right corner of the terminal screen
• Connect the other end of base power supply to
the main power outlet on the wall
• Check that the charging symbol
added to the power icon displayed on the
upper right corner of the terminal screen. This
will indicate that the terminal is connected into
the power outlet and amount of charge held in
the battery.
in the upper
has been
HOW TO LOAD PRINTER PAPER
A red line will appear on the paper, indicating that
the paper roll must be replaced. To re-load a
new roll:
• Open the paper compartment by lifting the
catch located at the rear of the terminal below
the contactless symbol and pull the cover
towards the rear of the terminal
• Insert the paper roll (diameter 40mm) in the
compartment
• Pull the paper up to the top of the terminal and
hold in position
• Maintain the paper roll position and press the
lid closed until it clips into position
Note: Ensure paper roll is always loaded in the terminal for the
terminal to function.
HOW TO CONNECT TO A WIFI
NETWORK
To connect to a WiFi network please follow the
steps below:
• Press <FUNC> 6 and <ENTER>
• Press <F2> (scroll down) or <F3> (scroll up) to
select WiFi and then press <ENTER>
• The terminal will return to idle screen
• Press
& select TERMINAL
• Select OTHERS
• Select SETTINGS
• Select WiFi
• Using the touchscreen press the Enable icon
• Press the Scan Networks icon
• The terminal will display 'Scanning' before
displaying a list of the available WiFi networks
• Select the WiFi network you wish to connect to
by using the touchscreen
• Type in the WiFi password using the
touchscreen and then press <ENTER>
• The terminal will briefly display 'New Profile OK'
• Press <CANCEL> to return to the main screen
• The WiFi symbol at the top of the terminal
should turn from white to green indicating that it
has successfully connected to the WiFi network
