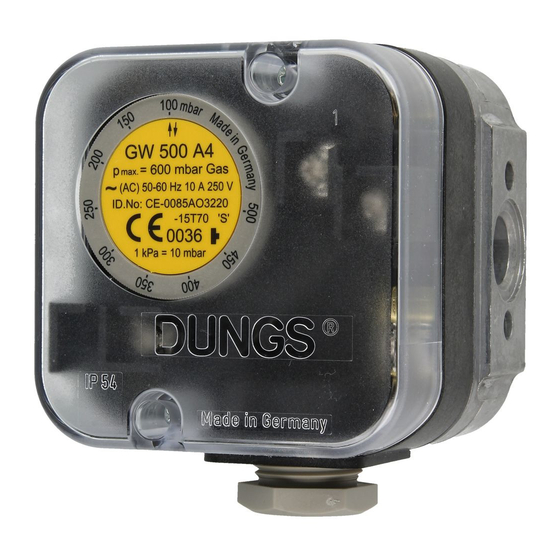
Dungs GW 6000 A4/2 Anleitung Handbuch - Seite 10
Blättern Sie online oder laden Sie pdf Anleitung Handbuch für Schalter Dungs GW 6000 A4/2 herunter. Dungs GW 6000 A4/2 16 Seiten. High pressure gas and air pressure switch

Einstellung des Druckwächters
Haube mit geeignetem Werkzeug
demontieren, Schraubendreher
No. 3 bzw. PZ 2, Bild 1. Haube
abnehmen.
Berührschutz ist nicht
grundsätzlich gewährt,
Kontakt mit spannungsführen-
den Teilen möglich.
Druckwächter am Einstellrad mit
Skala z auf vorgeschriebenen
Drucksollwert einstellen, Bild 2.
Anleitung des Brennerherstel-
lers beachten!
Druckwächter schaltet bei stei-
gendem Druck: Einstellung Ç.
Druckwächter schaltet bei fal-
lendem Druck: Einstellung È.
Haube wieder aufsetzen!
Setting the pressure switch
Dismount the hood using a suitable
tool, e.g. screwdriver no. 3 or PZ2,
Fig. 1. Remove hood.
There is no protection
against accidental contact.
Contact with live parts is pos-
sible.
Set the pressure switch at the setting
wheel z to the specified pressure
setpoint using the scale, Fig. 2.
Follow the instructions of the
burner manufacturer!
Pressure switch switches as pressure
increases: Setting Ç.
Pressure switch switches as pressure
reduces: Setting È.
Remount hood!
Ersatzteile / Zubehör
Spare parts / Accessories
Pièces de rechange / access.
Parti di ricambio / Accessori
Set: Gerätestecker G3,
3-pol + E für GW...A4
Kit: G3 equipment plug,
3-pin + E for GW...A4
Kit: Connecteur d'appareil G3,
3 pôles + E pour GW...A4
Set composto da: Spina G3
a 3 poli + terra
Leitungsdosen 3-pol + E,
grau GDMW für GW...A4, A4/2
Line sockets, 3-pin + E
grey GDMW for GW...A4, A4/2
Prises 3 pôles + T,
gris GDMW pour GW...A4, A4/2
Presa a 3 poli + terra,
grigia GDMW a GW...A4, A4/2
Réglage des pressostats
Enlever les vis du capot en utilisant
un tournevis N
3. ou PZ 2, Fig 1.
o
Enlever le capot.
La protection n'est pas
garantie, contact avec des
pièces sous tension possible.
Régler le pressostat avec son bou-
ton gradué z à la valeur désirée,
Fig. 2.
Respecter les recommandations
du constructeur du brûleur!
Le pressostat commute par pression
montante: Réglage Ç.
Le pressostat commute par pression
descendante: Réglage È.
Remonter le capot!
Regolazione del pressostato
Smontare la calotta con un attrezzo
adeguato, ossia cacciavite nr. 3 , PZ
2, figura 1 Togliere la calotta.
Non é sostanzialmente
garantita la protezione da
scariche, é possibile il contatto
con conduttori di tensione.
Tarare il pressostato, come in figura
2, sul valore di pressione nominale
prescritto, agendo sulla rotella della
scala graduata z.
Prestare attenzione alle prescrizioni
del produttore del bruciatore!
Il pressostato scatta con pressione
in salita: Regolazione Ç. Il pres-
sostato scatta con pressione in
discesa: Regolazione È. Rimontare
la calotta!
Bestell-Nummer
Ordering No.
No. de commande
Codice articolo
219 659
210 318
1
2
Ersatzteile / Zubehör
Spare parts / Accessories
Pièces de rechange / access.
Parti di ricambio / Accessori
Montage-Set Glimmlampen
Neon glow lamp assembly set
Lampes fluorescentes, kit de
montage
Set die montaggio lampadina a
bagliore
grün/green/verte/verde
Montage-Set Glimmlampen
Neon glow lamp assembly set
Lampes fluorescentes, kit de
montage
Set die montaggio lampadina a
bagliore
gelb/yellow/jaune/giallo
Bestell-Nummer
Ordering No.
No. de commande
Codice articolo
230 V
24 V
248 239
248 240
230 V
120 V
24 V
231 773
231 772
231 774
10 ... 16
