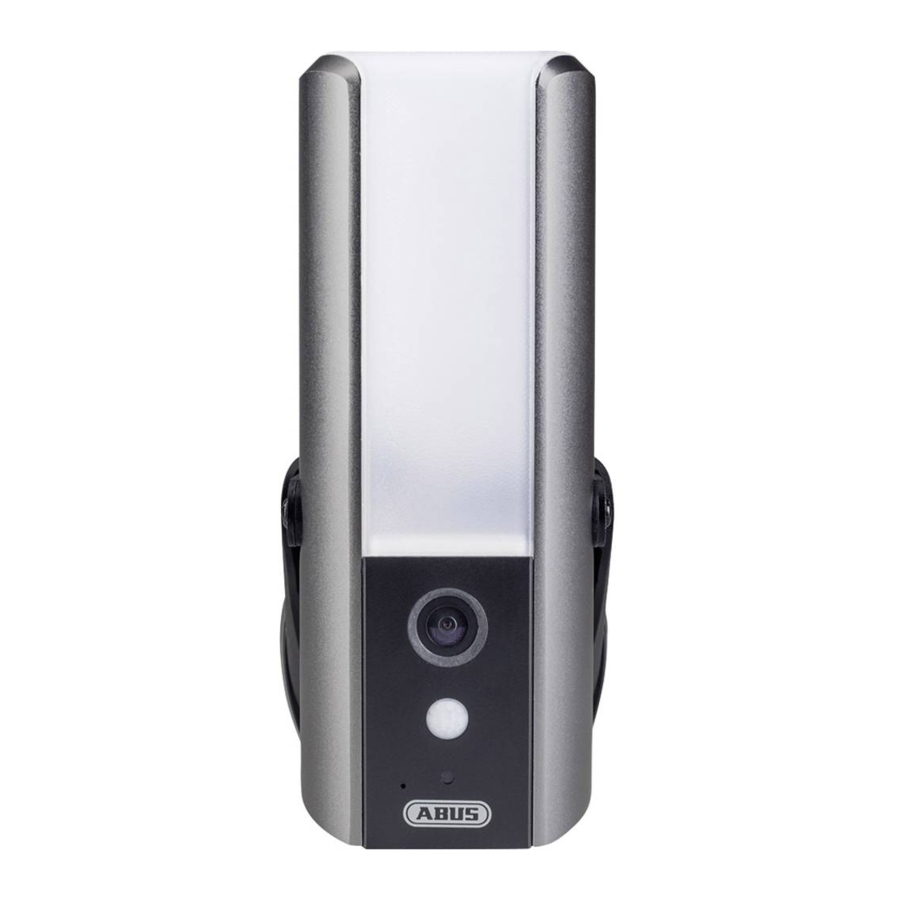
Abus PPIC36520 Kurzanleitung - Seite 6
Blättern Sie online oder laden Sie pdf Kurzanleitung für Sicherheitskamera Abus PPIC36520 herunter. Abus PPIC36520 12 Seiten. Wi-fi camera with light
Auch für Abus PPIC36520: Kurzanleitung (12 seiten)

3
Befestigen Sie die Halterung mithlfe
der beiliegenden Schrauben und Dübel.
Führen Sie die bestehenden Stromleiter
durch die vorgesehenen Löcher, indem
Sie die Gummiabdichtung perforieren.
Mount the bracket with the enclosed screws
and wall plugs. Lead the existing conductors
through the allowed holes by perforating the
rubber gasket.
5
Verbinden Sie das Kamera Anschlusskabel
mit dem Kamera Anschlussblock.
Connect the camera connection cable with
the camera connection block.
10
4
Verbinden Sie den stromführenden Leiter und
Neutralleiter mit der vorhandenen Lüsterklemme.
Sie können zur vereinfachten Installation die Lüs-
terklemme aus deren Halterung herausnehmen.
L = Stromführender Leiter
(meistens schwarz oder braun)
N = Neutralleiter (meistens blau)
Connect the live conductor and neutral conductor
with the luster terminal. For an easier installation
you can take out the luster terminal from
its holder.
L = live conductor (usually black or brown)
N = neutral conductor (usually blue)
6
Hängen Sie die Kamera nun
auf die Halterung auf.
Hang up the camera onto the bracket.
7
Montieren Sie die Kamera auf die Halterung
mit dem beiliegenden Inbus-Schlüssel.
Assemble the camera onto the bracket
with the enclosed allen key.
9
Versorgen Sie die Kamera nun mit Strom.
Die Kamera ist zur weiteren Einrichtung bereit,
wenn die Power LED durchgehend leuchtet und
die Status LED 2x kurz, 1x lang blinkt.
Supply the camera now with power. The camera
is ready for the next installation, when the power
led flashes permanently and the status led blinks
2x short, 1x long.
8
Montieren Sie die Antenne auf die Kamera.
Assemble the antenna onto the camera
11
