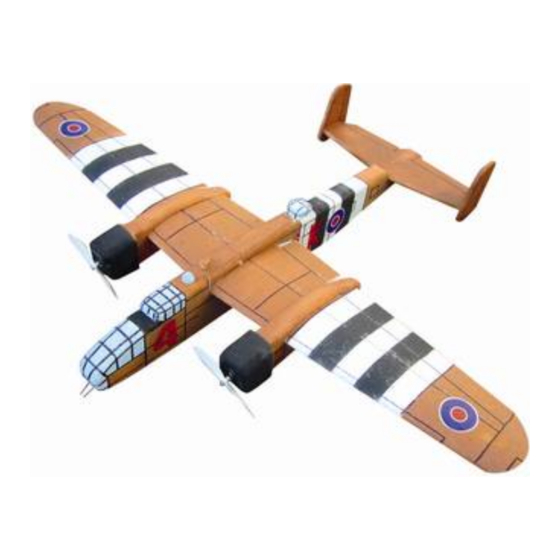
FreeAir Micro WWII B-25 Mitchell Handbuch
Blättern Sie online oder laden Sie pdf Handbuch für Spielzeug FreeAir Micro WWII B-25 Mitchell herunter. FreeAir Micro WWII B-25 Mitchell 4 Seiten.
Auch für FreeAir Micro WWII B-25 Mitchell: Handbuch (4 seiten)

Dear customer,
congratulations on the purchase of the Micro WWII B- 25 Mitchell model. To enjoy building and flying the model most, please read carefully the
building instructions before you begin and make sure that you understand the building process.
Part name
Fuselage from EPP
Elevator control rod
Wing from EPP
Horiznotal tail from epp
Vertical tail from EPP
Alerons control rod
Uper part of fuselage
Spile of elevator control rod
You will need the following tools and materials:
CyA glue, CyA glue accelerator, a sharp (modelling) knife.
To complete the model you need the following: a receiver (MZK), two servos (Waypoint-060 ), an DC controller (JETI 12), a battery pack
(2 or 3 LiPol cells of 600 –2000 mAh, a SPEED 280 + Gunther propeller.
Description of the model:
The model is completely made of the expanded polypropylene EPP, and its design is optimised for combat flying.. Its light weight (about
350 grams) makes it an ideal model for flying in any place – e.g. school playing field or in the street. It is designed with not only the
experienced pilots, but the advanced modellers as well in mind. Thanks to its well thought out design the actual building process would
take some 90 minutes.
Building the model
Unless otherwise stated, all parts are to be glued by the medium-thick or thin CyA glue. Start the building process by gluing the elevator
joiner in place (Fig. 9), making sure that it is free to rotate. Glue horizontal and vertical tail together (Fig. 7).
Now glue the horizontal tail to the fuselage, checking all the time for being perpendicular to the fuselage (Fig. 10).
Ensure especially that the gap between the rudder and the fuselage remains free. Using a sharp knife, cut the slits for the control surface,
elevator levers (Figs. 11). Glue the levers using a CyA glue. Install the control surface servo (Fig. 12) (you may glue them either by their
flanges, or, after wrapping the servos in a self-adhesive tape, glue them in place by their body). Use wires to make the control surfaces'
control rods (Figs. 13).
Now assemble the wings, using a sharp knife, cut the slits for the wings spar (Fig. 1). Install the aileron servo and its control rods (Fig.
6,8).
Ready the powerplant (the recommended equipment is the 2x Speed 280and Jeti 12A controller and the Penta receiver). Glue the motor
mount (Fig. 3). Glue the motor bearer ( Fig.4). Glue the motor nacelle (Fig. 5). Cut, using a sharp knife, a slit from the motor nacelle to
the receiver compartment in the wing. In the slit push the wire for the motors. Glue the ailerons joiner in the place (Fig. 2). Position of
receiver show pic 12. Picture 14 show linkage electromotors. Connect the receiver with the servos and glue the wing to the fuselage (Fig.
15). Glue upper part of fuselage (Fig. 16). Cut an opening for battery (Fig. 17) and insert the battery pack (LiPol 600-2000 mAh) into the
opening in the fuselage. If you use other type of battery pack, modify the opening, using the hot knife or solder gun to cut the EPP. The
centre of gravity (CG) of the model is 63 -/+6 mm to the rear of the wing leading edge.Set the control surface displacement – the elevator
should have -/+ 10 mm and the ailerons -/+ 10 mm. More experienced pilots need not to limit the deflections. When hand-launched, it flies
straight and level, with no tendency to swing or turn/roll.
This model is no toy – avoid therefore flying in crowded or similar places where health or property not only of yourselves, but also of
third persons could be jeopardised.
Many happy landings wishes FreeAir.
Manual WWII B 25 Mitchell
Micro WWII B-25 Mitchell
:
List of parts
pcs
Part name
1
Wing spar
1
Mtor mount
1
Cntrol surface lever
1
Manual
2
Elator joiner
2
Aleron joiner
1
Motor nacell
1
www.freeair.cz
pcs
1
2
3
1
1
2
2
Page nr..: 1 / 4
