AudioControl ACM-1.300 Schnellstart-Handbuch - Seite 3
Blättern Sie online oder laden Sie pdf Schnellstart-Handbuch für Verstärken AudioControl ACM-1.300 herunter. AudioControl ACM-1.300 13 Seiten. Compact high power mono subwoofer amplifier

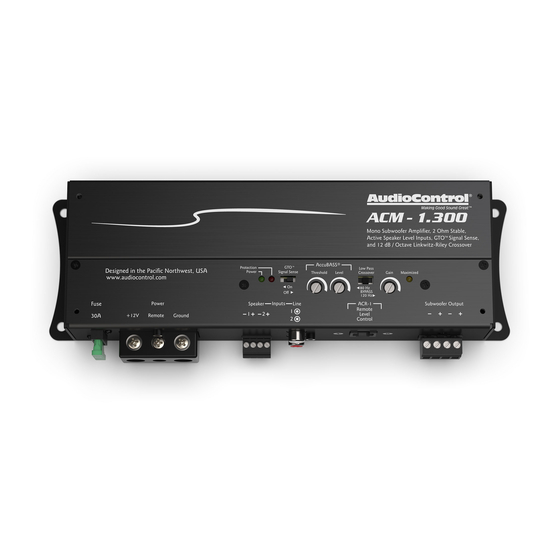
Connection Panel Features
1. Fuse 30A – Replace the fuse only with the exact same style and
Ampere rating. Disconnect 12V power before changing or inspect-
ing the fuse.
2. Power Input Terminal +12V – This screw terminal connects to
the +12V battery binding post of the vehicle. Use quality insulated
wiring of the recommended wire gauge, such as wire gauge 8 or
thicker. Thinner wire may cause an overheating hazard due to the
large currents involved.
3. Remote Power Input Terminal – This screw terminal connects
to the 12V remote trigger output of some head units. When the
head unit is turned on, then the ACM-1.300 amplifier will turn on.
Alternatively, you can use the GTO™ feature of the amplifier so it
will turn on when an audio signal is detected at the speaker-level
or line-level inputs.
1
2
3
4
5
7
6
4. Power Input Terminal Ground – This screw terminal connects to
a good ground connection on the vehicle.
5. Speaker-Level Inputs – The ACM-1.300 amplifier is supplied with
a standard 4-conductor plug that allows for easy installation and
removal. The speaker-level output from amplifiers and factory
installed radios can connect here, so the ACM-1.300 will receive
the audio signals and do its subwoofer thing. The left and right
audio signals are summed internally to produce a mono subwoof-
er signal. Make sure that you follow the plus and minus polarity
markings on the ACM-1.300 and match it to the polarity of the
speaker wiring. Do not use the RCA Line-level inputs if you are
using the speaker-level inputs.
3
