AudioEngine N22 Setup-Handbuch - Seite 4
Blättern Sie online oder laden Sie pdf Setup-Handbuch für Verstärken AudioEngine N22 herunter. AudioEngine N22 8 Seiten. Premium desktop audio amplifier

What's in the Box
•
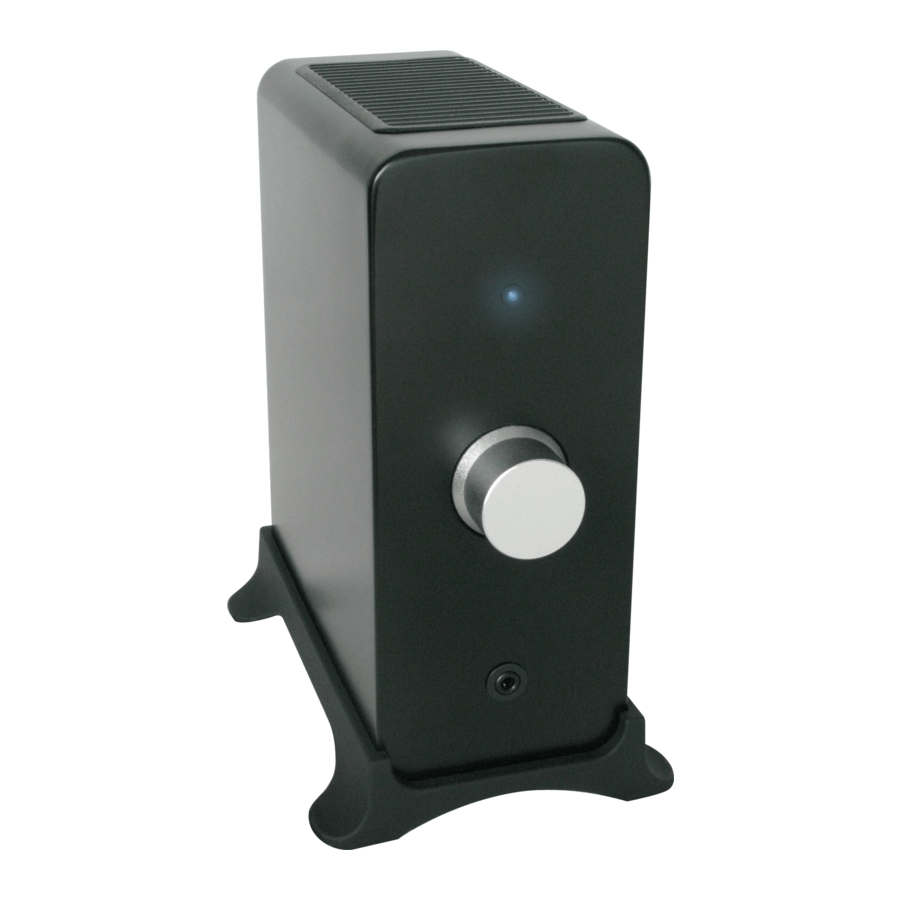
N22 ampli er with integrated stand
•
N22 power supply
•
Detachable AC power cord
•
⁄ " audio cable, 2 meters (~6.5 ft)
•
RCA audio cable, 1 meters (~3.28 ft)
•
Speaker wire (16AWG),
1.75 meters (~5.75 ft)
•
Cloth ampli er bag
•
Cloth power supply bag
•
Cloth cable bag
•
Setup Guide
Works With
•
Audioengine P4 passive speakers
•
Audioengine wireless audio adapters
•
Desktop computers and laptops (Mac and PC)
•
iPods and iPhones
•
Headphones
•
Rear channel surround speakers
•
Any products with mini-jack or RCA audio outputs!
Unpacking
Your Audioengine N22 ampli er was carefully tested and inspected before
packaging and shipping. After unpacking please check for any damage. It is
rare that any damage occurs during shipping, but if this does happen
contact the shipping company immediately. We recommend that you keep
the original carton and packing material.
3
audioengine N22 setup guide
RCA Input
L
R
A
3.5 mm
INPUTS
Mini-jack Input
B
LINE OUT
Variable
L
R
Preamp
POWER
Line Out
USB POWER
Power
OUTPUT
USB Power
L
OUTPUT
Speaker
R
Connectors
CONFORMS TO
UL STD 60065
CERTIFIED TO
CSA STD
Intertek
C22.2 No. 60065
3056826
Made in China
Setup and Operation
Step 1 - Placement
Set the N22 ampli er on a solid surface and make sure there is plenty of
ventilation and space around the ampli er top and bottom. The integrated
stand is not designed to be removed as the N22 uses a passive convection
system for heat dissipation. Keeping your N22 upright with the stand
attached is important for optimal ventilation and to keep your N22 running
cool.
Step 2 - Connecting the Speaker Wire
The N22 is a stereo power ampli er that will power one pair of passive
speakers between 4 and 8 ohms. To connect N22 to your speakers you will
need 2-conductor stranded speaker wire, which is included. The N22 uses
high quality, ve-way gold plated binding posts that will accept heavy
gauge bare wire, banana plugs, spade lugs, or pin terminators. If you use
your own speaker wire we recommend using at least 16 gauge wire and
using the same length of wire from the ampli er to each speaker. It's also a
good idea to turn o your ampli er before connecting power, audio sources
or speakers.
Preparing the Speaker Wire
Separate the last 3" of each speaker wire conductor.
Strip ½" of insulation from the end of each wire.
Twist the exposed copper strands with your ngers 3 or 4 times so the
strands stay together.
Note:
As you make your connections, be sure to connect the positive (+)
terminals on your ampli er to the positive (+) terminals on your speakers.
Even if your wire does not have (+) or (-) markings, most 2-conductor
speaker wire has printing on one side to help you di erentiate between the
wire pairs.
audioengine N22 setup guide
4
