Dupont Plantex Platinium Installationshandbuch
Blättern Sie online oder laden Sie pdf Installationshandbuch für Sicherheitsausrüstung Dupont Plantex Platinium herunter. Dupont Plantex Platinium 2 Seiten.
INSTALLATION MANUAL
One-sided gluing without seaming tape and without gluing machine (horizontal)
1. Use the right personal protective equipment.
2. You will need: an adhesive spreader, a box cutter, gloves and a waste bin or garbage bag.
3. Please make sure that you work as cleanly as possible during the entire process, to prevent the plant from
spreading. Do not forget to clean your shoes, tools, machines and the machines' tyres.
4. Measure the length and width of the affected area and mark its outer perimeter using e.g. stakes. Keep an extra
margin of no less than 2 m from the nearest plant to be absolutely safe.
5. Remove any rocks and other larger sharp objects that you see lying on the surface, to prevent damaging the
fabric.
6. Mow the entire area. Start at the outside and work inwards in shrinking circles. This way you ensure that
everything is mowed and that the surrounding area will not be contaminated. No parts of the plant must be
allowed to fly off.
7. Make certain that all parts of the plant are cut off at ground level.
8. Flail the soil to a depth of 10 to 15 cm, so that mowed stems are no longer upright. These could damage the fabric
at a later stage.
9. Check again for any sharp objects that have come to the surface, to protect the fabric and keep it from tearing.
10. After the mowing and flailing, dig a trench of c. 1 meter deep around the marked area. The excavated soil may
later be reused to fill up the trench.
11. Level the surface as well as you can. The flatter the surface, the easier it will be to apply the glue.
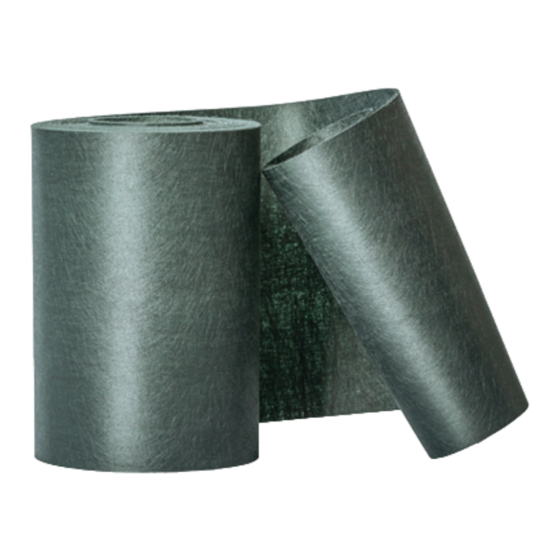
12. Now unroll the Platinium over the area. Allow an extra meter on all sides. The overlap required depends on the
method of seaming. There are several alternative ways to glue the seams.
13. Lay the sections of fabric out with an overlap of 15 cm minimum (see figure 1).
14. If necessary, weigh the sections down, so that they do not blow away.
15. Keep sand away from the fabric as much as possible.
16. Open the bucket of glue and stir thoroughly, wearing gloves.
17. Turn the end of one section back onto itself. If necessary, weigh the turned edge down to prevent it from
spontaneously unfolding (see figure 2).
18. Pour a layer of 4 to 5 cm of glue over the length of the other, exposed, section (see figure 3).
19. Spread the glue using an adhesive spreader to form a band of glue of at least 10 cm wide (see figure 4).
20. Then turn back the first section, so that it falls on the band of glue (see figure 5).
21. Press the fabric well, using the joint roller to spread the glue evenly. Instead of the joint roller, you can use a
plastic tube with a round stick going through (see figure 6).
22. Make sure that the glue clearly penetrates the fabric.
23. Next, weigh the glued seam down with clean soil. You do not need to wait until it is dry. Do, however, take care
that the two sections of fabric do not shift from their positions.
24. Once the sections are all glued together, the extra meter of fabric on the outer perimeter must be folded into the
trench. Avoid cutting, corners are to be folded in.
25. Cover the entire surface with at least 25 cm of clean soil and refill the trench, taking care that the fabric hangs
down as straight as possible (see figure 7).
26. The clean soil provides counterpressure against an initial upward push from the plant. It also shields the plant
from UV light, weakening it over time.
27. As a final step, we advise sowing grass. Grass roots fasten onto the surface of the Platinium fabric, reducing any
risk of erosion.
KING RootBarrier • [email protected] • T 0031 (0) 320 215 805 • kingrootbarrier.com
DuPont™ Plantex® Platinium
27-1-2020