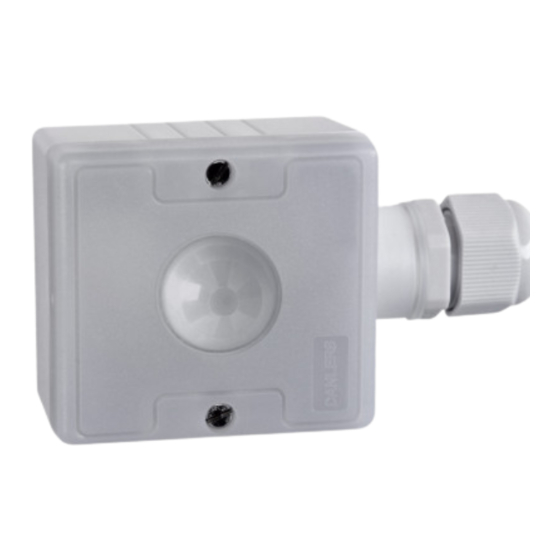
DANLERS BMEXPIR Hinweise zur Installation - Seite 2
Blättern Sie online oder laden Sie pdf Hinweise zur Installation für Schalter DANLERS BMEXPIR herunter. DANLERS BMEXPIR 2 Seiten. Batten mount exterior pir switch ip66 rated

Installation procedure
1. Please read these notes carefully before commencing work.
In case of doubt please consult a qualified electrician.
Make sure the power is isolated from the circuit.
2. If mounting on a lighting batten make reference to diagram B: Remove the
20mm thread from the PIR and insert it through the 20mm knockout hole
with the thread facing outwards.
3. The detector should be connected as shown in diagram A
Brown - Live in. Blue - Neutral in. Black - Switched Line out.
4. Feed your cable through the thread and with the PIR facing downwards
tighten the 20mm thread to ensure a tight seal.
5. Make sure the power is isolated from the circuit.
7. Once the wiring has been completed and verified, switch on the supply and
test the operation.
Lux and Time set-up
For convenience, ensure that the TIME is set to minimum when setting up the
LUX level. Afterwards set the TIME to a value suitable for the application.
8. When powered up, (after 1 minute stabilisation time) turn lux pot (diagram
C) fully clockwise and time pot fully anticlockwise.
9. Press the MODE button (diagram E) for approximately 0.5s. The LED
will go green indicating the LUX cell is active. (Or press and hold button
for approx. 4 seconds – LED goes RED indicating Lux cell INACTIVE).
Repeating these steps will toggle the functionality.
10. If lux cell active, vacate area until PIR switch switches the load off (should
be after 10 seconds).
11. With the LUX as desired on working plane from daylight ONLY (no artifi-
cial light), wind the lux pot anticlockwise whilst waving your hand in front
of the PIR cell. When the PIR switches the load ON, stop turning the pot.
The Lux inhibit level is now set.
12. Turn the PIR time to the desired timeout (diagram D). Whenever a person
is detected, the time lag will start again and the load will stay switched on.
Precondition
Power-up Condition
Lux Cell Inactive
Lux Cell Inactive
Relay OFF
Relay comes ON for 1 Min. After 1 min. ready for detection.
Lux Cell Active
Lux Cell Active
Relay ON
Relay stays ON for 1 Min. After 1 min. ready for detection.
Lux Cell Active
Lux Cell Active
Relay OFF
Relay comes ON for 1 Min. After 1 min. ready for detection.
Lux Cell Inactive
Lux Cell Inactive
Relay ON
Relay stays ON for 1 Min. After 1 min. ready for detection.
A: Wiring diagram
BMEXPIR
80s
SL
40s
L
20s
optional manual
10s
wall switch for
N
overriding off
min
230 VAC
TIME
N
B: Installation diagram, viewed from below
Washer
Cable
gland
E: Time/Lux adjusters (inside casing)
Dual colour LED:
RED - PIR active,
STATUS
MODE
Photocell inactive
GREEN - PIR and
Photocell override ON
(passive LUX)
Time
Delay
10
Spindle
1000
TIME
LUX
C: Lux adjustment
2.5m
5m
10m
20m
40m
1000 LUX
max
max
min
LUX
load
Use Mode Button
to disable LUX (see
diagram E)
D: Time adjustment
2.5m
80s
5m
40s
20s
10s
min
max
TIME
To light
fitting ballast
Inside detector
housing
F: Detection range
For optimum coverage recommended
mounting height: 2.4 to 5m
Lux Cell
Mode
Strong
Secondary
detection zone
detection zone
i.e. person
i.e. person
moving arm
or walking
perpendicular
towards PIR
Lux
Setting
Spindle
up to 5m
up to 7m
10 LUX
10m
20m
40m
100
walking
to PIR
