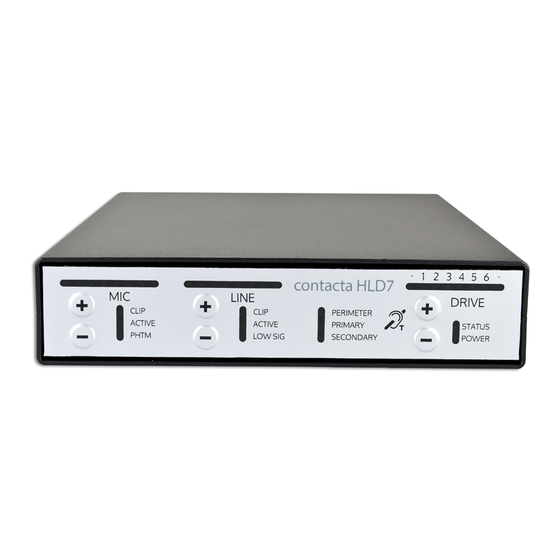
Contacta HLD7 Benutzerhandbuch - Seite 8
Blättern Sie online oder laden Sie pdf Benutzerhandbuch für Hörgerät Contacta HLD7 herunter. Contacta HLD7 20 Seiten. Hearing loop driver
Auch für Contacta HLD7: Benutzerhandbuch (16 seiten)

Engineers mode – In this mode there are additional items that can
be adjusted, such as driver type, phantom power and high frequency
compensation.
You must first be in adjustment mode (see page 9). To enter the
engineers mode, press both Line + and - simultaneously.
MIC
MIC
CLIP
CLIP
ACTIVE
ACTIVE
PHTM
PHTM
There are 5 PAGE settings, each identified by a flashing MIC LED:
PAGE 1 is LED 1, PAGE 2 is LED 2, etc.
PAGE 1 allows you to select the driver operation; either perimeter,
primary or secondary. Always select the driver operation mode before
installing the driver in its rack mount bracket.
MIC
MIC
CLIP
CLIP
ACTIVE
ACTIVE
PHTM
PHTM
PAGE 1 is identified by
LED 1 flashing
8
LINE
LINE
CLIP
CLIP
ACTIVE
ACTIVE
LOW SIG
-20DB
LINE
LINE
CLIP
CLIP
ACTIVE
ACTIVE
LOW SIG
-20DB
Pressing the LINE + or - buttons
selects driver operation, Perimeter,
PRIMARY or SECONDARY
MIC
contacta HLD9
CLIP
ACTIVE
MIC
LINE
PHTM
CLIP
CLIP
PERIMETER
ACTIVE
ACTIVE
PRIMARY
PHTM
LOW SIG
SECONDARY
Press both Line + and - simultaneously
to enter the Engineers' mode
contacta HLD7
contacta HLD7
PERIMETER
PERIMETER
PRIMARY
PRIMARY
SECONDARY
SECONDARY
contacta HLD7
contacta HLD7
MIC
CLIP
PERIMETER
PERIMETER
PRIMARY
PRIMARY
ACTIVE
SECONDARY
SECONDARY
PHTM
When you are ready to move
onto the next PAGE press the
DRIVE + button
2.5
contacta HLD9
LINE
2.5
5
7.5
10
CLIP
PERIMETER
ACTIVE
PRIMARY
DRIVE
LOW SIG
SECONDARY
STATUS
POWER
1 2 3 4 5 6
1 2 3 4 5 6
-
-
DRIVE
DRIVE
STATUS
STATUS
POWER
POWER
1 2 3 4 5 6
1 2 3 4 5 6
-
-
LINE
DRIVE
DRIVE
CLIP
STATUS
STATUS
ACTIVE
POWER
POWER
-20DB
5
7.5
10
DRIVE
STATUS
POWER
-
-
-
-
contacta
PERIMETE
PRIMARY
SECONDA
