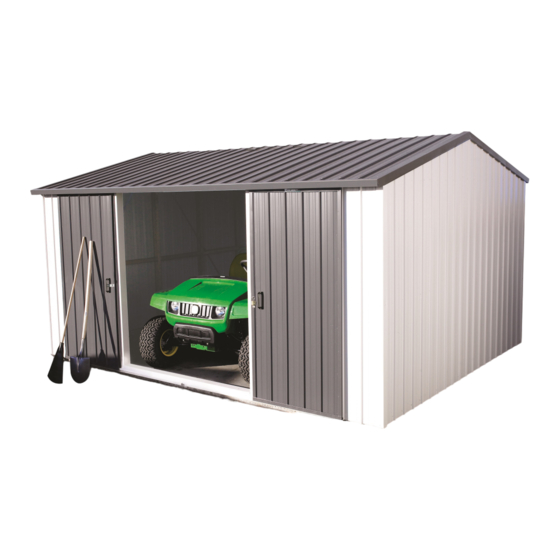
Duratuf MK4B Montageanleitung Handbuch - Seite 11
Blättern Sie online oder laden Sie pdf Montageanleitung Handbuch für Lagerung im Freien Duratuf MK4B herunter. Duratuf MK4B 16 Seiten. Kiwi series, base size 4210mm x 3380mm

MK4B DOOR JAMB & CORNER FLASHINGS
Step 3: Fit Corner Flashing (101) over
corner Ribs with the top flush
with the top of the Top Plate.
Rivet in place with six rivets,
three each side. Repeat with
other three Corner Flashings.
When fitting Corner Flashings
on front wall, ensure they are
parallel with Door Jambs.
Note:
Condensation can form on the under side of shed roof. If building paper is required, fit now. Building paper will
need to be supported by netting or roofing twine.
Photo shows MK3A model
Step 1: Position first Roof Sheet centrally over Ridge
Beam on the right hand end of shed with the
LIP on the left hand side. (For sheds with a
Clear Roof Panel, go to the next page). Posi-
tion the next Roof Sheet. Ensure it overlaps
correctly then rivet together, one rivet in the
centre and one 600mm and 1200mm down
from the centre on both sides. Fit remaining
Roof Sheets.
Step 3: Centralize Roof at the other end and nail
through pan into Ridge Beam and Top
Plates. Ensure Ridge Beam is straight, then
nail one 40mm Weatherseal into Ridge Beam
beside each overlap (one nail per sheet per
beam). At the back, set up a String Line in
centre of Top Plate. Ensure Top Plate is
straight and nail off, using one 40mm Weath-
erseal per Pan. Repeat at the front.
MK4B ROOF
LIP
Step 2: Starting from the left hand end, centralise
Roof on Ridge Beam. Ensure Roof is tight
against end Wall Sheets and nail one 40mm
Weatherseal through Lip into the Ridge
Beam. At the back, line up Ribs on the Roof
Sheet with the Ribs on Wall Sheet. Using
one 40mm Weatherseal, nail through Lip into
Top Plate. Repeat at the front.
11
