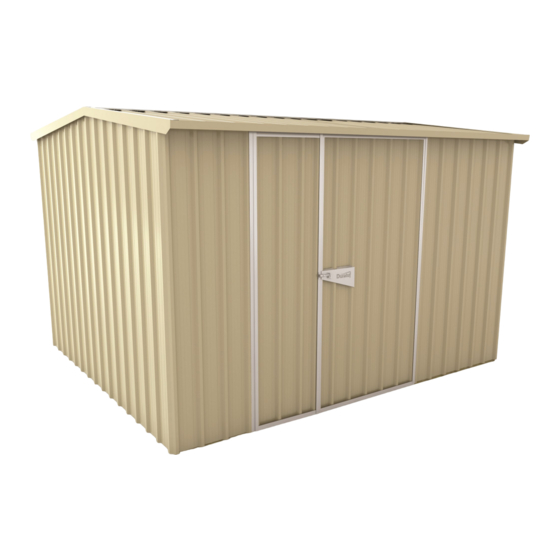
Duratuf PG98 Montageanleitung Handbuch - Seite 13
Blättern Sie online oder laden Sie pdf Montageanleitung Handbuch für Lagerung im Freien Duratuf PG98 herunter. Duratuf PG98 16 Seiten.

ROOF ASSEMBLY
SELECT:
12 x 1.350 m Roof Sheets
2 x 3.055 m Spouting
4 x 1.352 m Barges
2 x 1.800 m Ridge Flashing
1 x 3.020 m Ridge Beam
2 x 0.200 m Jack Studs
8 x 75mm Screws
34 x 50mm Roofing Screws
66 x Rivets
42 x 50mm Clouts
STEP 1:
• Place the Ridge Beam on a level surface and use 2 x 75mm screws
to secure the Jack Studs to the underside of the Ridge Beam, one at
each end (fig. 1).
• Turn the Ridge Beam /Jack Stud assembly over and place it on the
timber Top Plate in a central position.
• Secure with 2 x 75mm screws through the top of the Jack Studs
into the Timber Top Plate (fig. 2).
• Check that the shed is sitting level and square and that the diagonal
Top Plate measurements are the same.
STEP 2:
• Position the first Roof Sheet so that the top of the sheet is at the
centre of the Ridge Beam and the side of the sheet over hangs the
end of the Ridge Beam (fig .3). Using 1 x 50mm Clout, predrill and
nail through the rib into the top corner. Repeat above and nail the
lower corner ensuring 15mm overhang.
• Position the remaining front Roof Sheets and rivet them together as
shown.
• Nail the last sheet to the Ridge Beam and the Top Plate ensuring
the Roof Sheet overhangs the end of the Ridge Beam and the Top
Plate by 15mm.
•
Nail front Roof Sheets to Ridge Beam using 1 x 50mm clout per rib.
Screw to Top Plate using 1 x Roofing screw per rib (fig.4) ensuring
Ridge Beam and Top Plate are straight.
• Repeat with remaining roof sheets.
Pan
IMPORTANT—FOR SHEDS WITH OPTIONAL CLEAR ROOF PANEL
Assemble as below, making sure that the Clear Roof Sheets overlap the standard roof
sheets on both sides. The Clear Roof Panel must be secured to the Top Plate and the
Ridge Beam. Pre drill and fasten with the 50mm roofing screws provided, ensuring
screws are not overtightened as this can damage the seals and cause the shed to leak.
IMPORTANT
Use the 50mm Clouts only on ribs covered by flashings, shown on pg 13
holes using a 3.5mm drill bit. Use Roofing Screws on all other ribs. Ensuring screws are
not overtightened as this can damage the seals and cause the shed to leak.
Rib
fig.4
SIDE
WALL
12
fig.2.
RIDGE BEAM
JACK STUD
TOP PLATE
15mm
ROOF SHEET
RIDGE BEAM
JACK STUD
TOP PLATE
TOP PLATE
BACK WALL
BOTTOM PLATE
SIDE
WALL
RIDGE BEAM
FRONT WALL
TOP PLATE
BACK WALL
BOTTOM PLATE
FRONT WALL
Predrill
fig. 1
fig. 2
fig. 3
SIDE
WALL
SIDE
WALL
