DURAVIT Inipi Betriebsanleitung - Seite 9
Blättern Sie online oder laden Sie pdf Betriebsanleitung für Sanitärprodukt DURAVIT Inipi herunter. DURAVIT Inipi 19 Seiten.
Auch für DURAVIT Inipi: Vor der Installation (10 seiten)

4.10 Note on the water-tightness (Inipi Ama)
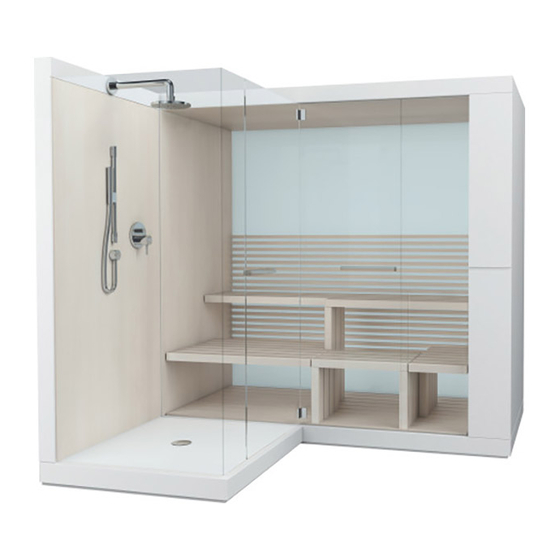
For design reasons, frameless shower partitions cannot absolutely prevent all water
from escaping the shower enclosure.
Water splashes, that occur during normal showering, are prevented. Therefore as with
any frameless shower enclosure, one cannot completely prevent water from spraying
out of the enclosure. However, for reasons of both function and design, a water barrier
in the form of a frame that can be closed tightly is not always desirale in exclusive all-
glass products.
5. Basics of Operation
5.1 Buttons and their functions
Switch on the sauna with the "on/off" button.
Navigate in the menu using the arrow keys, the "OK" key and the "cancel/back" key:
Move between menu items with the "up" and "down" button.
Select a menu item with the "OK" button.
Set a value with the "right" and left" button.
Interrupt a series of steps or jump back to the previous menu item with the
"cancel/back" button.
Press the "Vaporiser" button to start vaporisation.
Start the timer with the "hourglass" button.
5.2 Operating instructions
We've condensed the menu navigation in the operating instructions in the subsequent
chapters.
Where you read "Select ...." you need to carry out the following:
> Press the "down" button until the required menu item is marked.
> Press the "OK" button.
Example
> Select scenarios > change.
> Select the scenario you wish to change.
16
Do the following:
> Press the "down" button until scenarios is highlighted.
> Press the "OK" button.
> Press the "down" button until change is highlighted.
> Press the "OK" button.
> Press the "down" button until the scenario you want to change is highlighted.
> Press the "OK" button.
6. Initial Start-up of the Sauna
Note!
When switched on for the first time, the heater may produce a slight odour due to
evaporation of the materials used during the manufacturing processes.
> Ventilate the sauna after heating up for the first time, before taking your sauna bath.
Step 1: Configure control panel
> Turn the light switch to ON.
> Turn the mains switch to ON.
> Press the "On/Off" button.
All languages are listed on the display.
> Select the language you wish to use.
Two alternative modes are listed on the display:
Hotel: The scenarios cannot be changed.
Home: The scenarios can be changed
> Select the mode you wish to use.
Set time is displayed:
> Press the "up" or "down" button until the first digit of the current time is displayed.
> Press the "right" button to select the next digit.
> Repeat the last two steps until the current time is displayed.
> Press the "OK" button.
Set date is displayed:
> Press the "up" or "down" button until the first digit of the current date is displayed.
> Press the "right" button to select the next digit.
> Repeat the last two steps until the current date is displayed.
> Press the "OK" button.
17
