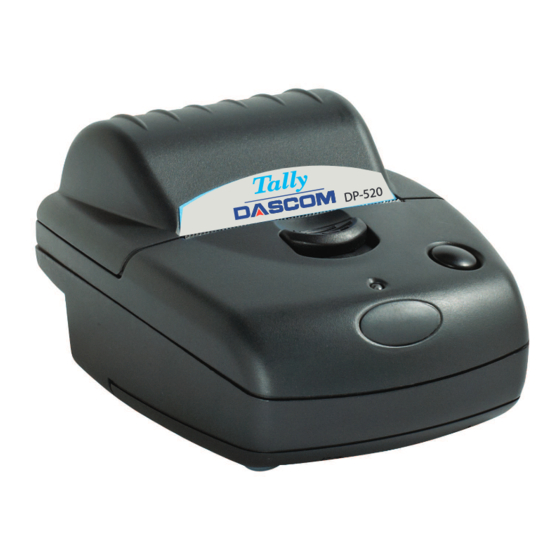
Dascom DP-520 Kurzanleitung zur Einrichtung
Blättern Sie online oder laden Sie pdf Kurzanleitung zur Einrichtung für Drucker Dascom DP-520 herunter. Dascom DP-520 2 Seiten. Wired printer
Auch für Dascom DP-520: Benutzerhandbuch (12 seiten), Benutzerhandbuch (19 seiten), Kurzanleitung zur Einrichtung (2 seiten)

Before Using Your Printer:
• Refer to Figure A to become familiar with the features of the DP-520 Wired printer.
• Attach the Wall Mount if Desired – (Sold Separately, Refer to Figure C):
1. Fasten the bracket to a wall using the supplied anchors and self tapping screws.
2. Remove the two "breakouts" using a small screwdriver.
3. Insert the Belt Clip/Wall Mount Bracket into the four holes on the back of the printer.
4. Slide the printer down onto the bracket until it "snaps" into place. The printer may be removed from the bracket by using
the Printer Release tab.
• Connect Power and Data Signals
1. Refer to the back of these instructions for information on making power and data connections.
• Load Paper – (Refer to Figure B)
1. Slide the paper lid release button toward the front of the printer until the lid opens.
2. Place the paper in the paper compartment with a small amount of paper extending from the top of the printer.
3. Close the paper lid until it "snaps" closed.
• Perform a Self Test –"Double-click" the Paper Feed button.
Notes: • Use Only Dascom Power Adapters.
• Always use high quality Paper & Labels to ensure optimal performance.
For more information, refer to the DP-520 Wired Printer Operator's Manual. You may download this manual at
www.dascomamericas.com.
Dascom Americas
421 West Main Street
Waynesboro, VA 22980
Dascom is a registered trademark of Dascom Americas
Bluetooth is a registered trademark of Bluetooth SIG, Inc.
IrDA is a registered trademark of the Infrared Data Assoc.
DP-520 Wired Printer Quick Setup Instructions
Paper Lid
Paper Lid Release
Status Indicator
Figure A
Paper Feed Button
Figure B
3
4
Printer Release
1
Figure C
2
