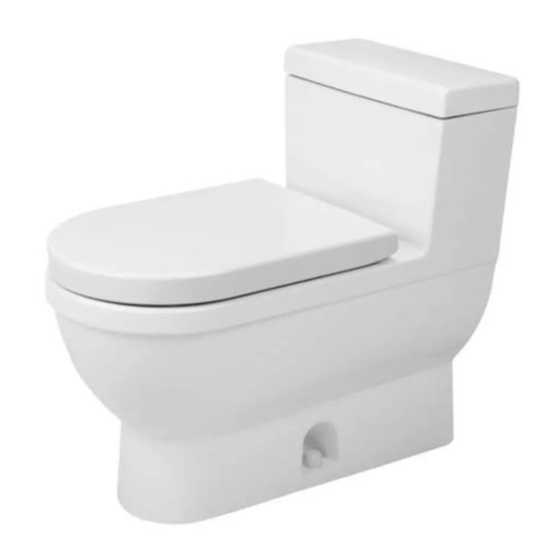
DURAVIT Starck 3 Montageanleitung - Seite 7
Blättern Sie online oder laden Sie pdf Montageanleitung für Toiletten DURAVIT Starck 3 herunter. DURAVIT Starck 3 12 Seiten. Toilet seat and cover
Auch für DURAVIT Starck 3: Schablone und Montageanleitung (2 seiten), Montageanleitung (2 seiten)

9
Open the tank cover carefully.
Abre la tapa de la cisterna con
cuidado.
1
2
10
The tank water level is factory set and should rise to the water level mark (1).
If it is not at this level, adjust the fill valve (2) to set the water line to the
indicated mark.
El nivel de agua de la cisterna viene ajustado de fábrico y debe llegar hasta
la demarcación (1). Si no está a este nivel, use el dispositivo de ajuste (2) de
la válvula de llenado para que llegue a la marca indicada.
(1)
(2)
2
11
12
Flush the tank at least three times
and check it for leaks. Also check if
the flush mechanism works properly.
The chain from the side lever actu-
ator arm should have enough slack
so that the flapper can close com-
pletely.
Descargue la cisterna al menos 3
veces y revísela para ver si presen-
tan fugas de agua. Compruebe tam-
bién si el mecanismo de lavado tra-
baja correctamente. La cadena del
brazo del pulsador de accionamien-
to debe tener la suficiente holgura
para que la chapaleta pueda cerrar
por completo.
3
MAL_53758/14.02.2
7
