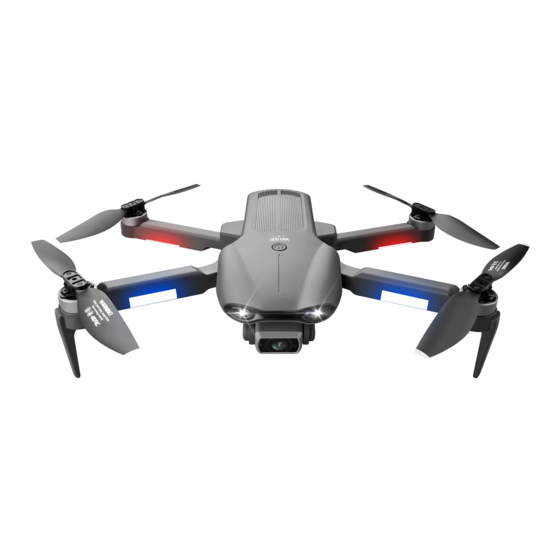
4DRC 4D-F9 Betriebsanleitung - Seite 16
Blättern Sie online oder laden Sie pdf Betriebsanleitung für Quadcopter 4DRC 4D-F9 herunter. 4DRC 4D-F9 16 Seiten.

Yeah gesture photo
In about 3m front of the aircraft lens, make Yeah gesture with one hand in
horizontal position; after the aircraft successfully recognizes the gesture, count
down 3 seconds and take photos.
Palm gesture video-recording
In about 3m front of the aircraft lens, put five fingers together and lift one hand to
horizontal position; after the aircraft successfully recognizes the gesture, it will
start recording. The recording will end when the gesture is re-recognized (the time
difference between the two recognitions shall be greater than 3s).
13.8 MV interface
Click the "filter interface" icon (Figure 33) in the APP control interface, after entering the
filter interface, you can choose to match your favorite filter effect, click the recording icon to
start recording (Figure 34). After the recording is completed, the synthesized short video or
picture will be saved to the media library (Figure 35).
Tips: During the recording process, you can rotate the screen or switch the filter effect,
and you can also turn the joystick on / off to control the direction and altitude of the aircraft.
Figure 33
14. FAQ and solving guidelines:
Question
The aircraft indicator flashes
without any response
The blades of the aircraft rotate
but cannot fly
The aircraft vibrates badly
After the impact, start the aircraft
again and it fly uncontrollably
After the impact, start the aircraft
again and it fly uncontrollably
Figure 34
Reason
1. Geomagnetic anomaly
2. The aircraft has insufficient power
1. Low battery
2.1 Blade deformation
2.2 Installation error of AB
propeller
Blade deformation
1. Blade deformation
2. Defective motor
The three-axis acceleration
sensor loses its balance due to
impact
15
Figure 35
Solution
1. Move the aircraft to an open place and
search for stars again
2. Charge the battery
1. Charge the battery
2.1 Replace the blade
2.2 The fan blades are printed with letters
A and B. For fan blade A or B, replace
the one that is broken
Replace the blade
1. Replace the blade
2. Replace the motor
After leaving the aircraft for 5-10 seconds,
or by the horizontal calibration, it will be ok.
For the steps, please refer to the manual,
11.4 horizontal calibration operation.
