4M Electric Plane Launcher Montageanleitung - Seite 2
Blättern Sie online oder laden Sie pdf Montageanleitung für Spielzeug 4M Electric Plane Launcher herunter. 4M Electric Plane Launcher 2 Seiten. Electric plane launcher

D. INSTRUCTIONS
1
1
D
D
A
A
3
3
K
K
K
K
5
5
L
L
C
C
1. Insert the two motors (part D) into the underside of the base (part A).
2. Install the two motor covers (part H) and secure them with 4 screws (part J).
3. Insert the ends of the wires from the motors and the battery case into the terminals, following the diagram as shown. Secure the wires
in place with terminal caps (part K). Please strictly follow the diagram, as if the wires are not connected in the correct way the motors will
not spin in the correct directions, meaning that planes cannot be launched.
4. Insert the adjuster bar (part G) and secure it with two screws. Also screw the adjuster screw (part M) into the adjuster bar. (Instructions
for adjusting the screw are in step 11.)
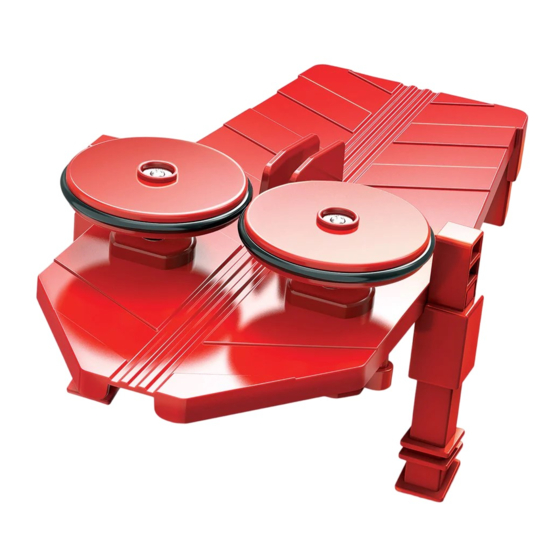
5. Push the two pulley wheels (part C) onto the motor spindles and secure them with two washer screws (part L).
6. Insert the plane holder (part E) into the base.
2
2
J
J
H
H
4
4
M
M
G
G
6
6
E
E
7
7
I
I
9
9
B
B
7. Insert the batteries as shown. Add the battery cover (part I) and secure it with a screw.
8. Add the two legs (part F), one on each side of the base.
9. Folding the paper plane:
Fold two corners of a sheet of paper as shown.
Fold again to make an arrow shape.
Fold the sheet in half along its length.
Fold each side down to make the wings.
Cut the sharp front off.
Fold the wings out. Add adhesive tape on the front and back to hold the sides of the plane together.
8
8
F
F
F
F
