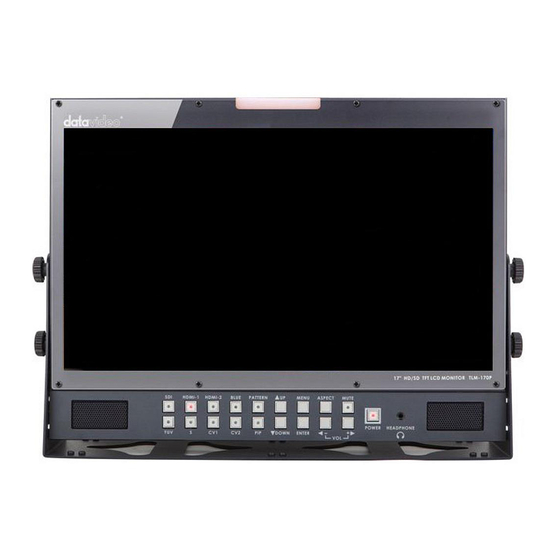
Datavideo TLM-170PM Gebrauchsanweisung - Seite 14
Blättern Sie online oder laden Sie pdf Gebrauchsanweisung für Monitor Datavideo TLM-170PM herunter. Datavideo TLM-170PM 20 Seiten. 17.3” full hd lcd monitor

Remote Set Up using a direct computer connection
The TLM-170P can be remotely set up using a computer web browser and an Ethernet crossover cable. No
existing computer network is used. The Ethernet crossover cable is connected to the TLM-170P monitor and
the computer/laptop being used.
1. Use an Ethernet RJ-45 crossover cable to connect the TLM-170P directly to the computer being
used.
2. Power on the TLM-170P monitor and press the MENU button to display the OSD menu.
3. Using the Up / Down buttons highlight SETUP NETWORK and press ENTER.
4. Set the menu option DHCP to ''OFF'' and press ENTER.
5. Then enter into the TLM-170P ...
6. Now open the Network and Sharing Center window on the Windows computer. Open the Local Area
Network Properties window and make a note of any displayed IP address or settings so you can
return the computer back to its original settings later if necessary.
7. Now change the Computer's TCP/IP property settings as shown below.
Select 'Use the following IP Address' radio button.
Then enter into the computer ...
8. Now save and close any open network related windows on the computer.
9. From the computer desktop open a web browser such as Internet Explorer or Google Chrome.
10. Delete the contents of the address bar at the top of the browser window and enter the IP address of
the TLM-170P which should be 192.168.0.210 if you are following the example here.
11. When you enter the IP address in the web browser the TLM-170P's remote settings interface should
be displayed in the browser window.
IP Address: 192.168.0.210
Subnet Mask: 255.255.255.0
Gateway: 192.168.0.1
IP Address: 192.168.0.205
Subnet Mask: 255.255.255.0
Gateway: 192.168.0.1
14
