ADE Automatic Betriebshandbuch - Seite 7
Blättern Sie online oder laden Sie pdf Betriebshandbuch für Küchengeräte ADE Automatic herunter. ADE Automatic 20 Seiten. Gravity feed slicers with automatic transmission

6.
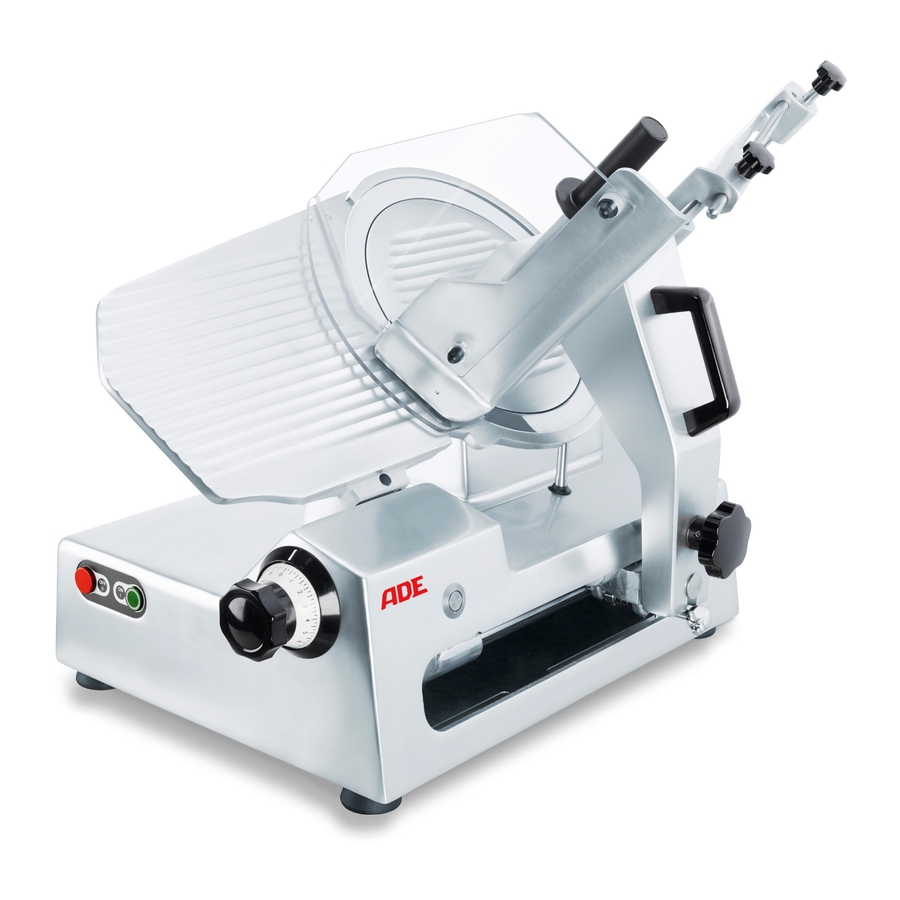
USING THE SLICER
5.1 Operating procedure
(Fig.1)
1) Set the graduated knob "A" to "0" (zero).
2) Move the product carriage "B" as far away from blade "K" as possible.
3) Lift the product press "C" using the relevant handle.
Set the product down on the product carriage, lower the product press onto or behind the product.
4) Select the desired thickness by means of knob "A".
5) Press the green button "I" (start).
6) Push the product carriage to slice the product by means of handle "D".
7) Once you have finished using the machine, switch it off by pressing the red button (stop) and set the
graduated knob to "0".
5.2 Option Counting Device
By means of the counting device (optional – no possibility for later upgrade) it is possible to enter the number
of cutting processes.
1) Press key "S". The first digit in the display is blinking.
Enter the requested number at the first digit with the double arrow key.
2) Press key "S" again. The second digit in the display is blinking.
Enter the requested number at the second digit with the double arrow key.
3) Press key "S" again. The third digit in the display is blinking.
Enter the requested number at the third digit with the double arrow key.
4) During display is still blinking, press key "S" again and then the key in the middle to save the entry.
5) If the machine will be started in the automatic modus the counting device counts down.
6) If the entered number of cutting processes is reached, the machine stops automatically.
If the machine would be stopped during the counting process by hand, e.g. by replacing the goods, the rest of
the number of cutting processes remains in the cutting device.
If the machine gets restarted, the automatic cutting and counting process will be continued.
7.
MAINTENANCE AND CARE OF THE SLICER
For the sake of hygiene, the slicer must be kept clean.
The machine must be disassembled and cleaned at the end of each working day, and whenever the type of
product being sliced is changed (e.g. change from raw meats to cooked meats) following the sequence
illustrated in fig. 2.
6.1 Cleaning
(Fig. 2) (Fig. 2/A)
1) Isolate the machine from the power supply by unplugging it, or switching off the automatic switch located
near the outlet.
Never settle for simply pressing the slicer's red "stop" button.
2) Set the graduated knob "A" to "0" (Fig. 2/A).
3) Position handwheel "E" in line with stop "F" and unscrew it completely. The locking mechanism engages
in the stop and locks the carriage in place. Slide the product carriage unit "B" vertically from its guide.
The slice assembly remains locked in the "0" position.
Automatic_Automatic-Z-200626-Rev014-UM-en
6
