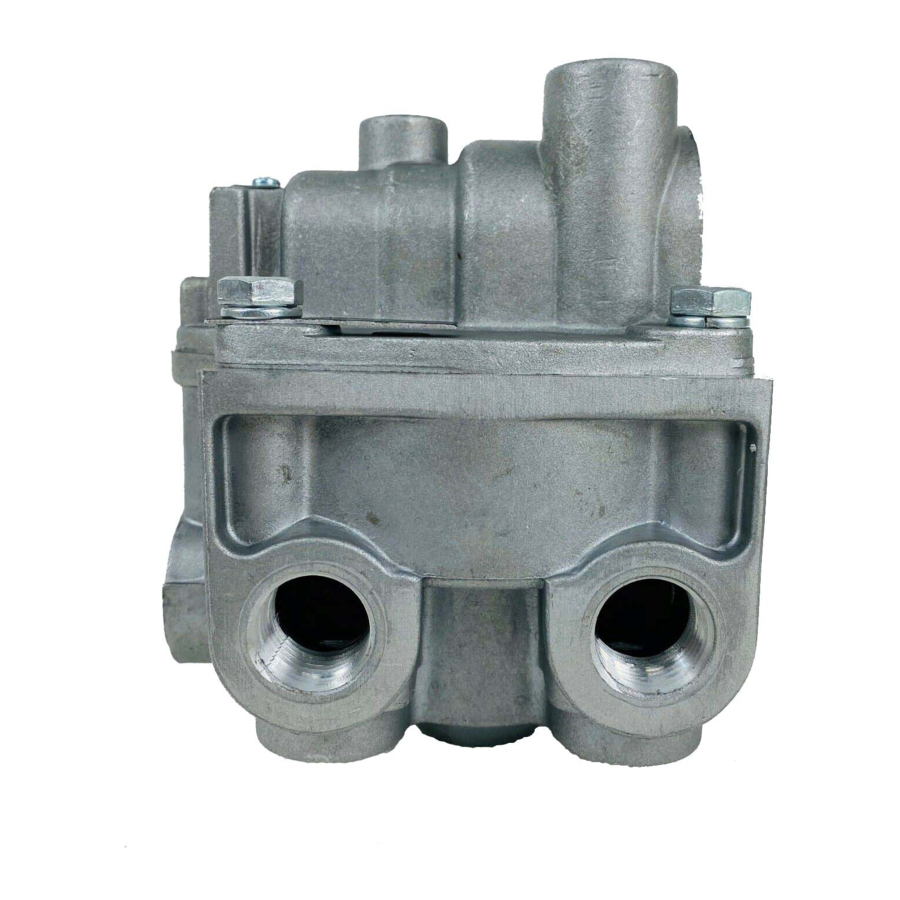
BENDIX BP-R1 BOBTAIL PROP RELAY VALVE Handbuch - Seite 9
Blättern Sie online oder laden Sie pdf Handbuch für Kontrolleinheit BENDIX BP-R1 BOBTAIL PROP RELAY VALVE herunter. BENDIX BP-R1 BOBTAIL PROP RELAY VALVE 11 Seiten. Bobtail proportioning relay valve

3. Install the small end of the inlet/exhaust valve spring
(34) over the rubber of the valve (33), making sure the
spring coils rest on the valve's four tabs. Note: Both
ends of spring (34) are the same diameter on valves
manufactured after June 1990.
4. Insert the spring and valve into the valve seat (32),
making sure the four tabs are within the seat's bore.
5. Insert the valve, seat and spring assembly into the
proportioning piston (28).
6. While holding the seat (32) in place, install the retaining
ring (30) to secure it in the piston (28). Make certain the
retaining ring is fully seated in its groove. Make sure
the valve is straight against the exhaust seat and free
to move.
7. Install both the large and small diameter o-rings (27 &
29) on the proportioning piston (28).
8. Install both the large and small diameter o-rings (25 &
26) on the blend back piston (24), then insert the small
diameter of the proportioning piston (28) into the small
diameter end of the blend back piston (24).
9. Carefully insert the assembled proportioning and blend
back pistons (24 & 28) to the edge of the bore in the
cover (2). Do not cut or pinch the o-rings.
10. With the bore of the cover facing up, install the spring
cage (23) in the blend back piston (24) so that its fl at
side rests against the blend back piston (its depressed
side out towards spring (22)).
11. Install the service piston (20) over the spring (22) in
the cage (23) so that its coils are within the l.D. of the
cage.
12. Install o-ring (18) on exhaust piston (17A).
13. Place exhaust piston on service piston with its six ribbed
side facing the service piston. Then install both pistons
while pushing the proportioning and blend back pistons
(28 & 24) all the way into the cover.
14. Install the retaining ring (15), making certain it is fully
seated in its groove.
15. Install the exhaust cover (37) using screw (36) to retain
it. Torque the screw to 8 to 15 lb. in.
16. Install the valve retainer (8) on the inlet and exhaust
valve (9) so that the fl ange of the retainer (8) surrounds
the rubber portion of the valve. Install the inlet and
exhaust valve in the body (1).
17. Install the inlet and exhaust valve return spring (7) in
the body (1).
18. Install the large and small diameter o-rings (5 & 6) in
the exhaust cover (4), then install the exhaust cover
in the body (1), taking care not to damage the o-rings.
Hold the exhaust cover in place.
19. While depressing the exhaust cover (4), install the
retaining ring (3) in the body (1). Make certain the
retainer (3) is fully seated in its groove in the body.
20. If the BP-R1
™
valve was equipped with a relay piston
return spring (15), install the spring in the body, large
diameter fi rst.
21. Using lubricant to hold them in place, install the large
and small sealing rings (11 & 35) on the cover (2).
22. Install the o-ring (12) on the relay piston (13), then install
the piston in the body (1).
23. After noting the relationship marks made prior to disas-
sembly, install the mounting bracket (not illustrated) on
the cover (2) then secure the cover (2) and mounting
bracket on the body (1) using the four cap screws (10).
Torque the cap screws to 120 to 150 lb. in.
24. Install all air line fi ttings and plugs making certain thread
sealing material does not enter the valve.
™
25. Install the BP-R1
valve on the vehicle and perform
the Operation and Leakage Tests before returning the
vehicle to service.
9
