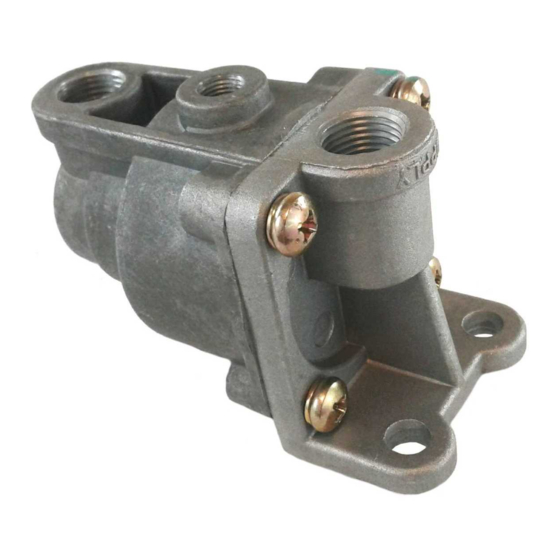
BENDIX LQ-5 BOBTAIL RATIO VALVE Handbuch - Seite 6
Blättern Sie online oder laden Sie pdf Handbuch für Kontrolleinheit BENDIX LQ-5 BOBTAIL RATIO VALVE herunter. BENDIX LQ-5 BOBTAIL RATIO VALVE 9 Seiten. Bobtail ratio valve

2. Make and hold a full brake application and apply a soap
solution to the exhaust port and around the cover where
it joins the body. The leakage should not exceed a 1"
bubble in less than 3 seconds.
VALVE REMOVAL
1. Secure the vehicle on a level surface by means other
than the brakes.
2. Drain air system completely, making sure all reservoirs
are at atmospheric pressure.
3. Identify and mark all air lines and their respective con-
nections on the valve.
4. Disconnect all air lines.
5. Remove the valve from the vehicle.
VALVE INSTALLATION
If the vehicle has a front axle ratio or limiting valve (such as
®
™
the Bendix
LQ-4
valve), it can be replaced with an LQ-5
valve. The LQ-5
™
valve control port must be connected to
the trailer supply line. Also, a quick release valve must be
installed between the LQ-5
chambers.
1. Install all air line fittings making certain thread sealing
material does not enter the valve.
2. Mount the assembled valve on the vehicle with the
exhaust pointing down.
3. Reconnect all air lines to the valve using the identifica-
tion made during Valve Removal, Step 3.
4. After installing the LQ-5
excessive leakage and tighten as needed.
DISASSEMBLY
The following disassembly and assembly procedures are
for reference only. Always have the appropriate maintenance
kit on hand and use its instructions in lieu of those presented
here. Refer to Figure 9 throughout the procedures.
™
Caution: The LQ-5
valve may be lightly clamped in a bench
vise, but overclamping will damage the valve and cause
leakage and/or malfunction. If a vise is used, clamp around
the supply port and the mounting surface.
1. Remove all air fittings from the valve.
2. Before removing the four Phillips head screws that
secure the cover to the body, mark the relationship
between cover and body.
3. Remove and retain the screws and the metal tag with
the LQ-5
™
valve piece number on it. Separate cover from
body. Remove and discard o-ring (1).
6
™
valve delivery and the brake
™
valve, test all air fittings for
COVER
BLEND
BACK
SPRING
SPRING
SEAT
6
5
™
PROPORTIONING
SPRING
FIGURE 9 - LQ-5
™
BOBTAIL RATIO VALVE
4. Remove the blend back and proportioning pistons from
the body.
5. Separate and retain the pistons. Remove and retain the
spring seat from the proportioning piston.
6. With a pair of needle nose pliers, grasp the end of the
valve spring (6) inside the proportioning piston. Remove
the spring by pulling and turning clockwise. Discard the
spring.
7. Remove and discard inlet/exhaust valve (5) from propor-
tioning piston.
8. Remove and discard o-rings (2), (3), (4) from the
pistons.
CLEANING & INSPECTION
1. Clean all metal parts with mineral spirits or an equiva-
lent solvent.
2. Thoroughly dry all metal parts.
3. Inspect interior and exterior of all metal parts that will be
reused for severe corrosion, pitting or cracks. Superfi-
cial corrosion and/or pitting on the exterior of the body
or cover is acceptable. Replace entire valve if interior of
body or cover shows signs of corrosion or pitting.
4. Inspect body and cover bores for deep scuffing or
gouges. Replace entire valve if either is found.
1
INITIAL
DELIVERY
SPRING
2
BLEND
BACK
PISTON
4
3
BODY
