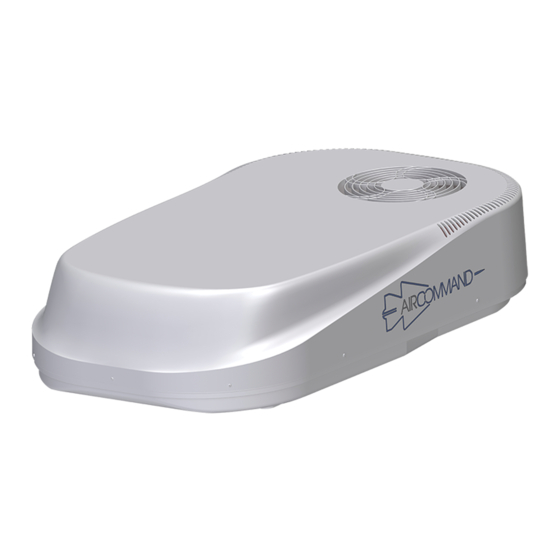
Aircommand 5860001 Handbuch Handbuch - Seite 15
Blättern Sie online oder laden Sie pdf Handbuch Handbuch für Klimagerät Aircommand 5860001 herunter. Aircommand 5860001 17 Seiten. Roof top air conditioner

Operating instructions
Turn the unit on by pressing the ON/OFF button once.
Press the MODE button to cycle through options COOL, DRY,
HEAT and FAN. To select cooling, cycle mode button to
highlight COOL.
You may select either HIGH, MED, LOW or AUTO
FAN SPEEDS by pressing the FAN button. It is recommended
that you choose AUTO.
Now select the desired ROOM TEMPERATURE (herein referred
to as SETPOINT) by pressing the TEMP up or down buttons. The
readout will fl ash the setpoint temperature. Keep pressing the
button until it fl ashes your desired setpoint.
In approximately 5 seconds the display will resume reading
the ACTUAL room temperature.
The compressor will have a delayed start, usually 3 minutes
before the unit starts to cool.
NB: Any interruption to the power supply will cause the unit to
delay compressor start up.
For simply RECIRCULATING AIR, choose the FAN mode.
Choose any of the three fan speeds by pressing the FAN
button. NB: The temperature button is invalid in Fan only
mode.
To heat, press the MODE button to highlight HEAT.
Select the desired setpoint temperature by pressing the TEMP
buttons up or down.
It is recommended that AUTO fan speed be selected.
After the delay, the compressor will start.
Usually the fan will stop and will not re-energize until the heat
exchanger has warmed and then the fan will start to blow
warm air.
The DRY mode is used when the room temperature is close to
comfortable but you wish to dehumidify. Press the MODE
button to highlight DRY.
Set the temperature to the desired setpoint.
NB: The fan speed is locked in LOW.
The compressor will cycle on and off at approximate intervals
of 6 minutes to extract moisture from the air.
SLEEP MODE:
lf the unit is operating in COOL mode and the SLEEP button is
pressed to highlight the Sleep light, then the unit over the
next one hour will automatically raise the set point by 1oC.
Conversely in HEAT mode, the setpoint will be lowered 1oC.
TIMER:
The Timer may be used to turn the unit
ON or OFF in the next 24 hours.
Press the TIMER button once and the
display will fl ash. Then within 3 seconds press the TIMER
button until you have set desired time to turn the unit OFF.
Another press of the timer button will allow the unit to be
programmed to turn ON.
LOCKING FUCTlON:
This provides a means of locking the MODE and FAN SPEED
setting.
To lock, press the TEMP down button simultaneously with the
MODE button. Hold for 3 seconds and the lock indicator will
light. To unlock repeat above procedure.
To change the readout from CENTIGRADE to FAHRENHEIT or
vice versa, press the TEMP down button simultaneously with
the FAN button.
15
