Great Lakes MINISTAR S Tipps zur Fehlersuche und Verarbeitung
Blättern Sie online oder laden Sie pdf Tipps zur Fehlersuche und Verarbeitung für Zahnärztliche Ausrüstung Great Lakes MINISTAR S herunter. Great Lakes MINISTAR S 2 Seiten.
Auch für Great Lakes MINISTAR S: Betriebshandbuch (13 seiten)
®
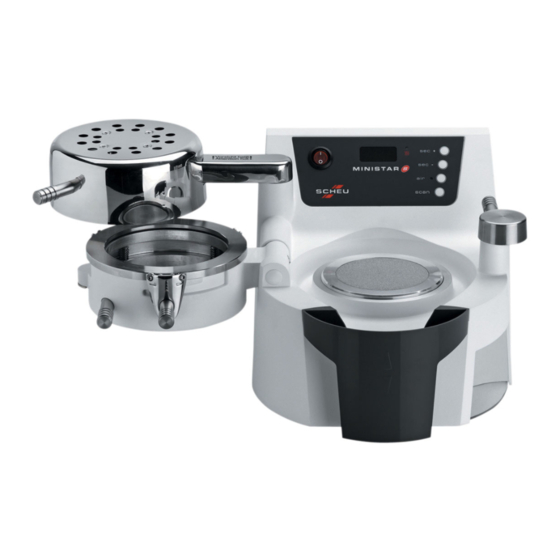
MiniSTAR S with Scan Technology Troubleshooting & Fabrication Tips
Use the following tips to address:
Air leaks
Poor adaptation
•
•
Blowouts
Material thinning
•
•
If adjusting ring does not move
freely, remove it and clean with a
small amount of liquid dish soap,
applied and removed with a soft,
dry cloth.
Remove pellets from cup. Make sure the 12 air escape holes
are not plugged.
Use a .036" diameter or smaller wire to
open plugged holes.
mounted
models, remove the
For
majority of pellets, leaving only
enough under the model to allow air
to flow. Build up the pellets, leaving
exposed only the area to be covered
by acrylic material.
Material heating unevenly
•
Mounted model too high for pellet cup
•
Remove and clean the 4 pins and
springs. Then lubricate with a
small amount of Silicone Grease
(016-021). Insert pins, springs, and
adjusting ring. Depress adjusting
ring once or twice to make sure it
moves freely. Wipe off any excess
grease with a soft, dry cloth.
Make sure all pellets are removed
from the edge of the cup where
the chamber locks into place.
Great Lakes recommends all soft or semi-soft material should be formed on
the platform. See photo on left: the base of the model is even and flat.
Use pellets for hard material: see photo on right.
Note:
The MinSTAR S is preset at
60 psi, or 4 bars of working pressure.
Make sure the heating
surface is parallel to the
heating element. See
Maintenance Tips
to
adjust.
Pellets should be even with the
top of the pellet cup.
1.800.828.7626
greatlakesortho.com
Performing a Cold Test:
A.
Turn unit off. Make sure
platform is in place. Clamp a
sheet of 2mm (or thicker)
hard material onto pressure
chamber. Secure clamping
frame.
B.
Enter
5
seconds heat-
ing time. Swing the heating
element over the material to
activate heat. Immediately
return heating element to
rest position.
C.
Swing pressure chamber
over the model platform.
Activate air pressure.
D.
If you hear a constant rush
of air during pressurization,
contact your customer service
representative.
SMPP67Rev060717
S-302