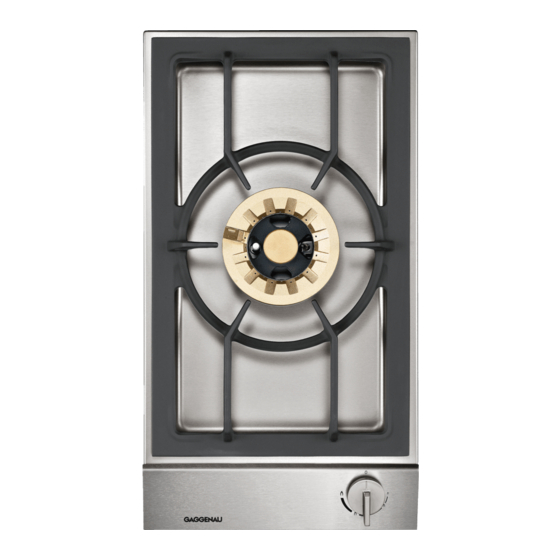
Gaggenau VG 231 AU Einbauanleitung - Seite 3
Blättern Sie online oder laden Sie pdf Einbauanleitung für Kochfeld Gaggenau VG 231 AU herunter. Gaggenau VG 231 AU 4 Seiten. Gas cooker
Auch für Gaggenau VG 231 AU: Betriebs- und Montageanleitung (19 seiten)

en
Ú Installation instructions
Important notes
Read these instructions carefully and keep them in a safe place.
Safety during use can only be ensured if the appliance is fitted
correctly according to these installation instructions. The
installer is responsible for ensuring that the appliance operates
perfectly at the point of installation.
The appliance must be connected to the mains only by an
authorised person.
Before carrying out any type of work, turn off the electricity and
gas supply.
Statutory regulations
This appliance shall be installed in accordance with the
manufacturer's installation instructions, local gas fitting
regulations, municipal building codes, electrical wiring
regulations and AS/NZS 5601.1 the Australian Standard for gas
installations. Refer also to AS/NZS 5601.1 for pipe sizing tables.
Before connecting the appliance, please check whether the
local connection conditions such as the gas type, gas pressure
and mains voltage and the appliance settings are correct. Refer
to the data plate located on the hob base for the necessary
information.
If the data plate does not agree with the appliance settings refer
to SampfordIXL contact details.
For conversion to another type of gas, please call the after-sales
service.
m
Risk of gas escape!
After connecting the appliance to the gas supply, always check
the connection for leak tightness. The manufacturer accepts no
responsibility for the escape of gas from a gas connection
which has been previously tampered with.
Ensure sufficient air exchange in the room where the
appliance is installed. Up to 11 kW total output:
Minimum volume of the room where appliance is installed:
■
20 m³
A door leading to the open air or a window which can be
■
opened.
Up to 18 kW total output:
Minimum volume of the room where appliance is installed:
■
2 m³ per kW total output.
A door leading to the open air or a window which can be
■
opened.
An extraction hood into the open air. Minimum displacement
■
volume of extraction hood: 15 m³/h per kW total output.
The plug must remain accessible after installation is complete.
Do not kink or trap the mains connection cable.
The appliance must be fitted according to the installation
drawing.
A minimum clearance of 260 mm from the periphery of the
burner to a rear or side horizontal combustible surface must be
maintained. If clearance is less than 260 mm then that surface
must be non-combustible or be protected in accordance with
AS/NZS 5601.1 clause 6.10.1.2
Overhead clearances
Rangehoods and exhaust fans shall be installed in accordance
with the manufacturers instructions. However, in no case shall
the clearance between the highest part of the burner and the
underside of the rangehood be less than 650 mm or for a
overhead exhaust fan, 750 mm.
This appliance is not intended for operation with an external
timer or an external remote control.
Do not install this appliance on boats or in vehicles.
Preparing the furniture
The surrounding kitchen unit must be heat-resistant to at least
90 °C. The stability of the unit must be maintained after
producing the cut-out.
Produce the cut-out for one or several Vario appliances.
Proceed as shown in the installation sketch. The angle between
the cut surface and the worktop must be 90°.
After producing the cut-out, remove the shavings. Seal the cut
surfaces to make them heat-resistant.
Observe a minimum clearance between the appliance housing
and parts of the unit of 10 mm.
When fitting several Vario appliances: allow for the additional
space required for the connecting strip VV 200. Appliances can
also be fitted in individual recesses, if a minimum clearance of
40 mm between the appliances is observed.
