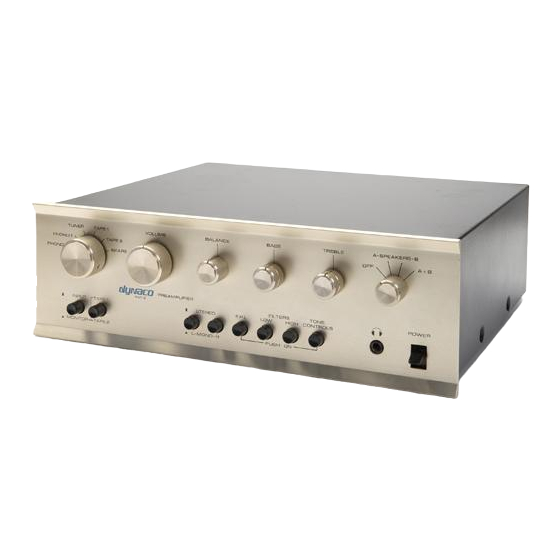
DYNACO PAT5PWR Montageanleitung - Seite 12
Blättern Sie online oder laden Sie pdf Montageanleitung für Verstärken DYNACO PAT5PWR herunter. DYNACO PAT5PWR 18 Seiten. Replacement power supply rev e hardware

Label, then de-solder the power supply wires
Pull the Preamp's AC plug and wait 1 minute before going on.
The power supply PCB has numbered eyelets. Use the supplied labels to
mark wires 1-8 to make assembly easier.
If your PAT-5 was wired for 240 volt operation, then there also will be
wires in eyelets 9, 10, and 11. Make your own masking tape labels for the
wires that go there if they are present.
If your power supply voltages were good on the previous page, then de-
solder wires 1 through 8 (and 9, 10, and 11 for 240 volt preamps) and skip
ahead to the section called "Removing the Old Power Supply".
If your power supply voltages were bad on the previous page, then continue
to the section, "If your voltages were out of tolerance".
If your voltages were out of tolerance
If the voltage on eyelet 4 (nominally 42.5 Volts) was too low:
Pull the Preamp's AC plug and wait 1 minute before going on.
Desolder the wire from eyelet 4 (nominally 42 volts). Place a DC current
meter between eyelet 4 and the wire previously connected to it.
Plug the PAT-5 into the AC power socket. Note: There are potentially lethal
voltages inside the PAT-5 from the instant it is plugged in, regardless of the
state of the ON-OFF switch!
If the current is less than 10 mA then record the value of the current, and
move to the next test.
If the voltage on eyelet 3 (nominally 15 Volts) was too low:
Pull the Preamp's AC plug and wait 1 minute before going on.
Desolder the wire from eyelet 3. Place a DC current meter between eyelet 3
and the wire previously connected to it.
Plug the PAT-5 into the AC power socket. Note: There are potentially lethal
voltages inside the PAT-5 from the instant it is plugged in, regardless of the
state of the ON-OFF switch!
If the current is less than 50 mA then record the value of the current, and
move to the next test.
If the voltage on eyelet 7 (nominally -15 Volts) was too low:
Pull the Preamp's AC plug and wait 1 minute before going on.
Desolder the wire from eyelet 7. Place a DC current meter between eyelet 7
and the wire previously connected to it.
Plug the PAT-5 into the AC power socket. Note: There are potentially lethal
voltages inside the PAT-5 from the instant it is plugged in, regardless of the
Task
Task
Task
Task
Page 12 of 18
Done? ()
Done? ()
Done? ()
Done? ()
