HiB NOVUM Camber Schnellstart-Handbuch - Seite 3
Blättern Sie online oder laden Sie pdf Schnellstart-Handbuch für Inneneinrichtung HiB NOVUM Camber herunter. HiB NOVUM Camber 4 Seiten.
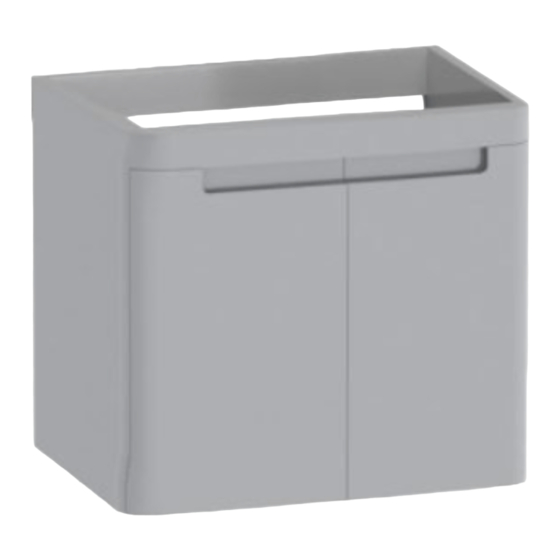
Vanity Units
1. Position the unit in a suitable location. Carefully mark the desired position of the unit using a soft
pencil.
2. Using a spirit level, mark a horizontal line below the pencil mark, taking into account the location of
the furniture hangers. Place brackets on the pencil line paying attention to the distance between the
furniture hangers. Carefully mark the position of the holes using a soft pencil.
3. Before drilling, ensure there are no hidden cables or pipes behind the mounting points.
Using a suitable drill bit, drill holes in the marked positions to a suitable depth.
4. Insert wall plugs level with the surface of the wall. If fitting to a tiled surface, wall plugs should be
inserted below the tile surface to avoid cracking. NB. For plasterboard walls, specialist heavy
duty fixings should be purchased from any DIY or hardware store.
5. Fix the brackets to the wall using the screws provided
6. Hang the furniture unit, ensuring the claws on the hangers are securely located on the wall brackets.
Using a spirit level, make the unit level by adjusting screw B on the hangers
tighten screw A until the unit is secure against the wall.
7. If necessary, the drawer runners and door fronts can be adjusted in order to fine tune their
alignment. Ensure the securing screw on the underside of the drawer runner is removed before
adjusting the drawer runner and the screw is resecured when adjustments have been completed.
(Fig.
5). For door fronts, fine adjustments can be made to the door by adjusting the small screws as
per
Fig. 6.
8. Mount the basin onto the furniture unit using a fine bead of silicone to seal the washbasin to the unit
and wall edges.
Tall Units
1. Please note that the tall units can be mounted as both right hand and left hand door opening.
2. Position the unit in a suitable location. Carefully mark the desired position of the unit using a soft
pencil.
3. Using a spirit level, mark a horizontal line below the pencil mark, taking into account the location of
the French cleat furniture hanger. Place French cleat against the wall, on the pencil line and carefully
mark the position of the holes using a soft pencil.
4. Before drilling, ensure there are no hidden cables or pipes behind the mounting points.
Using a suitable drill bit, drill holes in the marked positions to a suitable depth.
5. Insert wall plugs level with the surface of the wall. If fitting to a tiled surface, wall plugs should be
inserted below the tile surface to avoid cracking. NB. For plasterboard walls, specialist heavy
duty fixings should be purchased from any DIY or hardware store.
6. Fix the French cleat to the wall using the screws provided
7. In order to secure the bottom of the tall unit to the wall, a small screw hole will need to be drilled
through the back board of the unit. It is reccomended that this is drilled through the centre of the
bottom, fixed French cleat.
8. Measure the location of the centre of the bottom fixed French cleat. Transfer this measurement to
the inside of the unit and drill a small hole right through.
9. Hang the tall unit onto the French cleat, ensuring that it is securely seated.
10. Mark the position of the screw hole onto the wall. remove the unit and using a suitable drill bit, drill
a hole in the marked position to a suitable depth, then insert the wall plug as per step 5 above (See
Fig.
3).
11. Hang the unit back onto the wall and fix the supplied screw and cover cap into the screw hole at the
bottom of the unit - ensure that the screw grips into the wall plug in the wall.
12. If necessary, the door(s) can be adjusted to align them with the tall unit carcass. This is done by
adjusting the small screws on the hinges (see
(Fig.
1).
(Fig.
3).
(Fig.
3).
Fig.
6).
(Fig.
1).
(Fig.
2). Once straight,
hib.co.uk
3