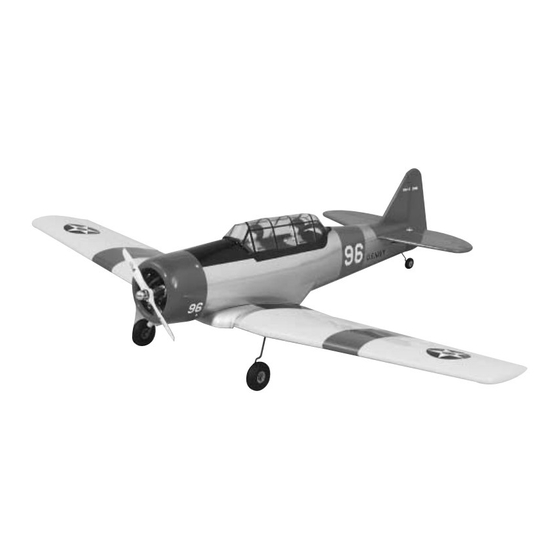
GREAT PLANES AT-6 Texan Gebrauchsanweisung - Seite 7
Blättern Sie online oder laden Sie pdf Gebrauchsanweisung für Spielzeug GREAT PLANES AT-6 Texan herunter. GREAT PLANES AT-6 Texan 20 Seiten. Legendary warbirds custom-wood series

6. Cut a slot in the aft tail post for the tail gear bushing. Test
fit the rudder to the fin and the tail gear wire with the hinges. If
the hinges are difficult to install or don't go in far enough,
carefully enlarge the hinge slots with a hobby knife and a #11
blade. Cut the hinges to the size shown above from the 2"
(51mm) x 9" (229mm) hinge material. Use the following
procedure for gluing the hinges and tail gear assembly.
DRILL A 3/32" HOLE
1/2" DEEP, IN CENTER
OF HINGE SLOT
A. Drill a 3/32" hole, 1/2" deep, in the center of the hinge
slot. If you use a Dremel
®
in a cleaner hole than if you use a slower speed drill.
Drilling the hole will twist some of the wood fibers into the
slot, making it difficult to insert the hinge, so you should
reinsert the knife blade, working it back and forth a few
times to clean out the slot.
B. Hint: If the hinges don't remain centered, remove the
rudder and insert a pin in the center of the hinges.
[25mm]
[25mm]
3/4"
[19mm]
MultiPro
™
for this task, it will result
TEMPORARY PIN
TO KEEP HINGE
CENTERED
C. Pack the tail gear wire slot in the fuselage with epoxy.
To insure that you have working time, we recommend using
30-minute epoxy. Rejoin the rudder to the fin using the
hinges. Use a tissue dampened with alcohol to wipe away
excess epoxy before it cures. Make sure there is
approximately a 1/64" gap between the rudder and the fin.
1"
1"
D. Add six drops of thin CA to the center of the hinges
on both sides. Use a paper towel to absorb excess CA from
the hinge gap before it cures. Do not use CA accelerator;
allow the CA to cure slowly.
7. Use the same hinging method to join the Elevators to
the stab.
ENGINE INSTALLATION
1. Cut the "spreader bar" from each Engine Mount half.
Carefully trim any extra material left by the spreader bar
from each mount half. The surfaces where the spreader
bars were attached must be smooth to allow the mount
halves to fit together. Trim the flashing off any rough edges
if necessary.
7
ASSEMBLE, THEN APPLY 6 DROPS
OF THIN CA TO CENTER
OF HINGE, ON BOTH SIDES
