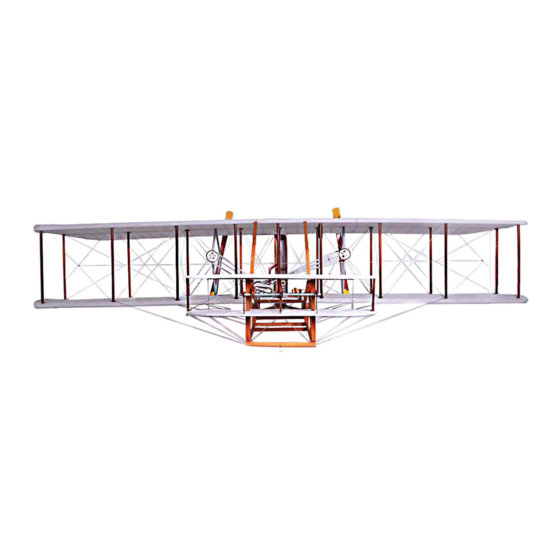
Aircraft in Miniature Limited Historic Wings Wright Flyer 1 1903 Montageanleitung Handbuch - Seite 6
Blättern Sie online oder laden Sie pdf Montageanleitung Handbuch für Spielzeug Aircraft in Miniature Limited Historic Wings Wright Flyer 1 1903 herunter. Aircraft in Miniature Limited Historic Wings Wright Flyer 1 1903 8 Seiten. 1:72 metal kit

6
Cover each of the f lying surfaces with tissue paper (if required - Refer to Figure 5).
A Cover a flying surface
NOTES:1 - An elevator is illustrated, but the same procedure is used for all the flying surfaces.
2 - The flying surfaces are the two wings, the two elevators and the rudder.
(1) Paint the structure.
1
2
3
B
Paint the area shown in Figure 6 with PVA wood glue .
Tissue paper on
upper and lower sides.
C
Cut a piece of tissue paper which is larger that the structure, lay it in place, and press the tissue paper on to
the wood glue.
D When the wood glue is dry, turn the structure over and do steps 7 A thru 7 C to apply tissue paper to the
second side of the structure.
E
Use a very sharp knife to trim the paper to the edge of the structure (see Detail A of Figure 6).
F
Do steps 7 A thru 7 E to each of the other flying surfaces.
7
Assemble the Elevator (Refer to Figure 6).
A Attach the components to the lower elevator.
(1) Attach the five elevator struts (E3), and make sure they are vertical.
Elevator strut - E3
Elevator pivot - E4
Elevator drive gear - E6
Elevator pivot - drive - E5
Lower elevator
(2) Align the elevator drive gear (E6) with the etched guide lines (on the right side of the elevator
pivot - drive (E5)), and attach it to the elevator pivot - drive.
(3) Attach the elevator pivot - drives (E5 - x2) to the elevator.
B
Attach the upper elevator to the struts and elevator drives.
De-grease the structure. Hold it with tweezers, and dip it in cellulose thinners, methyl
ethyl ketone (MEK), or your preferred degreasing agent, to remove any grease. Do not
touch it with your fingers again before it is painted
Paint the structure a light tan or cream (to simulate a light coloured wood).
Let the paint dry.
Paint PVA wood glue
on this area
Elevator pivot - E4
Trim tissue paper
to this edge
Tissue paper
DETAIL A
Section of Edge of Structure
Figure 5
Upper elevator
Elevator strut - E3
Figure 6
Typical Scrap
Right
Forward
