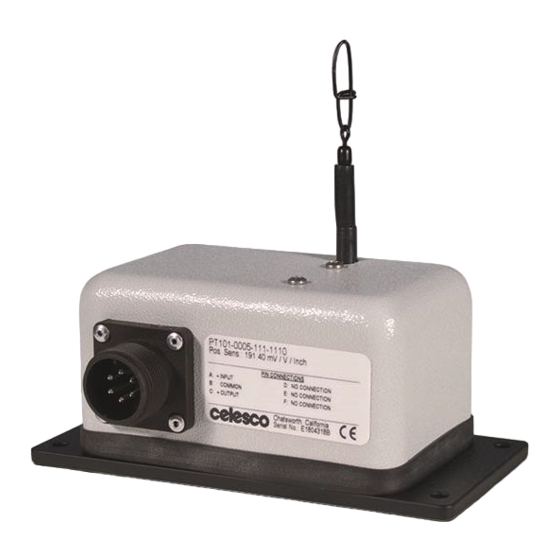
celesco PT510 Anweisungen für die Ersetzung - Seite 4
Blättern Sie online oder laden Sie pdf Anweisungen für die Ersetzung für Messwertaufnehmer celesco PT510 herunter. celesco PT510 4 Seiten. Measuring cable

39.
Place a crimp over the end of the cable (inside the spool) with as little excess
cable showing as possible.
40.
Squeeze the crimp with a crimp tool or a pair of pliers to secure it on the cable.
41.
While keeping slack out of the measurement cable, replace the spool in the frame.
42.
Replace the pot side plate and the #8-32 screws holding it in place. Make sure the
bearings are seated correctly.
43.
Replace the spring side plate. Make sure the bearings are seated correctly.
44.
Replace the phenolic disk against the spring side plate. If necessary, place a small
amount of silicon oil on the disk before replacing.
45.
Replace the spring motor/housing assembly. Make sure the hook on the inner
spring coil hooks over one of the forks of the spring arbor.
46.
Keep tension on the measurement cable. This is best done by hooking the end
onto a fixed point.
47.
Wind the cable on the spool by gently turning the spring housing in the direction
of the arrow. As the spring winds, move the transducer body towards the cable
end to reel in the cable. Watch through the access whole to ensure the cable
doesn' t wind over on itself. Keep winding until the rubber snubber butts up
against the cable guide.
48.
Unhook the cable end from the fixed point.
49.
Turn the spring motor an additional two to three turns to load tension on the cable.
50.
Replace the #8-32 screws that hold the spring housing and spring side plate to the
frame and snug them down. Be careful not to over-tighten or the plastic spring
housing may be damaged.
51.
Fully extend and retract the cable a few times to ensure smooth cable travel.
52.
Loosen the large nut holding the potentiometer to the pot mounting plate just
enough so it can rotate freely.
53.
If spacers and #4-40 screws that hold the mounting bracket in place were
removed, replace them now.
54.
Replace the potentiometer and mounting bracket assembly, inserting the pot shaft
into the spool all the way.
55.
While looking through the access hole in the frame, extend the cable so one of the
set screws can be seen.
56.
With an allen wrench, tighten the set screw.
57.
Extend the cable again until the other set screw is visible and tighten the set
screw.
58.
Carefully allow the cable to retract fully
59.
Connect a 10 VDC power supply to the potentiometer terminals so +10VDC is
connected to CCW and –10VDC is connected to CW.
60.
Connect a voltage meter to potentiometer terminals so positive lead is connected
to S and negative lead is connected to CW.
61.
Rotate entire potentiometer body so output is between 0.04 and 0.1 VDC.
62.
Tighten large nut to lock potentiometer in place on the mounting bracket.
63.
Fully extend and retract the cable a few times to ensure smooth cable travel.
64.
Replace baseplate and the two #8-32 screws to hold it in place.
65.
Replace the cover and the two #4-40 screws that hold it in place.
Page 4 of 4
