Celestron 11090 Gebrauchsanweisung - Seite 6
Blättern Sie online oder laden Sie pdf Gebrauchsanweisung für Teleskop Celestron 11090 herunter. Celestron 11090 20 Seiten. Telescope and equatorial mount

5.
Thread the second mounting screw into the hole nearest the declination slow motion cable. You
may wish to remove the slow motion knob in order to access the hole more freely. It may be
necessary to lift the optical tube slightly to allow the mounting screw to pass by the metal
declination indicator attached to the mount. Tighten both mounting screws.
Note: You may attach your optical tube to any heavy duty photo tripod (via the optical tube's mounting
block) if desired.
Now that the optical tube is secured to the mount, the optical tube accessories (finderscope, star diagonal
and eyepiece) can be attached.
Attaching the Finder Bracket to the Telescope
1.
Locate the two holes in the rear cell of the telescope just left of the top of the tube (when looking
from the back of the tube).
2.
Remove the tape covering the two holes. The tape prevents dust and moisture from entering the
optical tube before the finder is installed.
3.
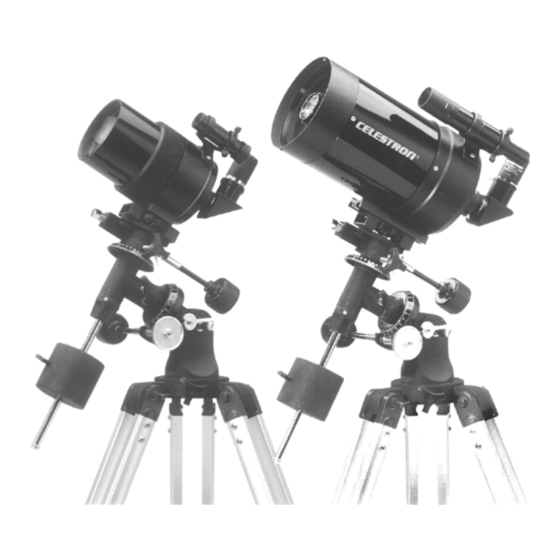
Place the finder bracket over the holes. The bracket should be oriented so that the ring with the
holes for the adjustment screws is closer to the rear cell (eyepiece end) of the telescope (see figures
1 & 2).
4.
Thread the screws in by hand and then tighten with a screwdriver.
Attaching the Finder to the Bracket
With the bracket firmly attached to the telescope, you are ready to attach the finder to the bracket.
1.
Thread the three screws into the finder bracket. Tighten the screws until the ends are flush with the
inner diameter of the bracket ring. Do not thread them in completely or they will interfere with the
placement of the finder.
2.
Slide the rubber O-ring onto the back (eyepiece end) of the finder — it may need to be stretched a
little.
3.
Position the O-ring on the main body of the finder so that it is toward the front (i.e., objective) end
of the finder.
4.
Slide the finder, eyepiece end first, into the front ring of the bracket. Push it back until the O-ring
is snug inside the front ring of the bracket. For the G-3 telescope, the 8x20 finder slides in
objective end first.
5.
Hand tighten the three set screws until snug.
To align the finder, please see the next section on "Aligning the Finderscope."
Aligning the Finderscope
Accurate alignment of the finderscope makes it easy to find objects with the telescope, especially celestial
objects. To make aligning the finderscope as easy as possible, this procedure should be done in the daytime
when it is easy to find and identify objects. To align the finder:
1. Choose a target that is in excess of one mile away. This will eliminate any possible parallax effect
between the telescope and finderscope.
6
