Celestron 22129 Gebrauchsanweisung - Seite 5
Blättern Sie online oder laden Sie pdf Gebrauchsanweisung für Teleskop Celestron 22129 herunter. Celestron 22129 8 Seiten. Smartphone ready refractor telescope

THE STARPOINTER RED DOT FINDERSCOPE
Your telescope comes with a StarPointer Red Dot Finderscope
that you will use as a sighting tool when aiming the telescope at
a target.
To install the fi nderscope:
1. Loosen the two Philips–head screws on the side of the
fi nderscope and slide the clamp over the dovetail bracket near
the telescope focuser. The large window.
2. Secure the fi nderscope in place by tightening the two
Philips-head screws. Do not over tighten these screws. Just
make the connection snug.
3. Remove the small plastic tab under the battery cover by
pulling it straight out. This is installed to prevent the battery
from accidentally discharging during transportation.
The StarPointer Red Dot Finderscope uses a CR-2032 button
battery. To change the battery, turn the StarPointer over to locate
the battery compartment. Use a coin in the slot on the cover to
unscrew the cap counter-clockwise until the cap comes off. Insert
the new battery with the Positive (+) side facing upward and
screw the cover back on. If your StarPointer does not immediately
turn on, open the battery compartment to remove the small plastic
disk that lies between the battery and the battery cover. This is
used to prevent the battery from accidentally discharging during
shipment.
If you are going to store your telescope for a long period of time,
it is best to remove the battery to prevent accidental corrosion.
MOVING THE TELESCOPE
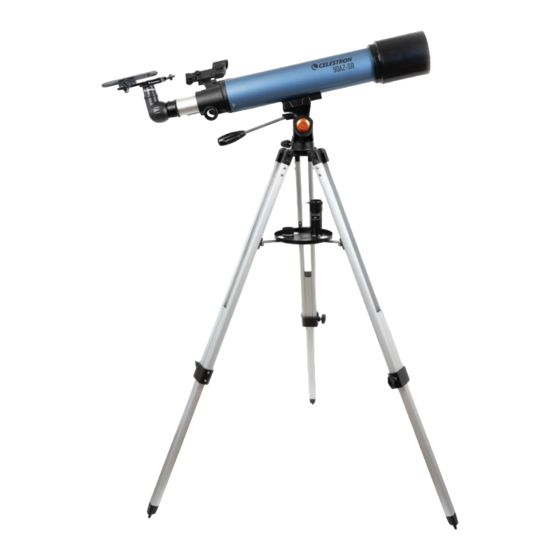
The 90AZ SR altazimuth mount is simple to use. To move the
scope left and right, loosen the azimuth tension knob at the base
of the mount between two of the tripod legs. Grab the knob at
the end of the panning handle and move the scope to the desired
location. You can adjust the tension of the left and right motion by
adjusting the azimuth tension knob.
To move the scope up and down, loosen the altitude clutch by turning
the knob at the end of the panning handle counter-clockwise. Move the
handle up or down as required and turn the knob clockwise to lock
the scope on target.
Power/Brightness
Knob
Mounting
Screws
Battery
Compartment
Azimuth
Tension Knob
ENGLISH |
3
